
A Collector’s Guide to Cleaning Vintage Tableware and Silverware
everything you need to know about crazing, stain removal, silver polishing and caring for vintage finds

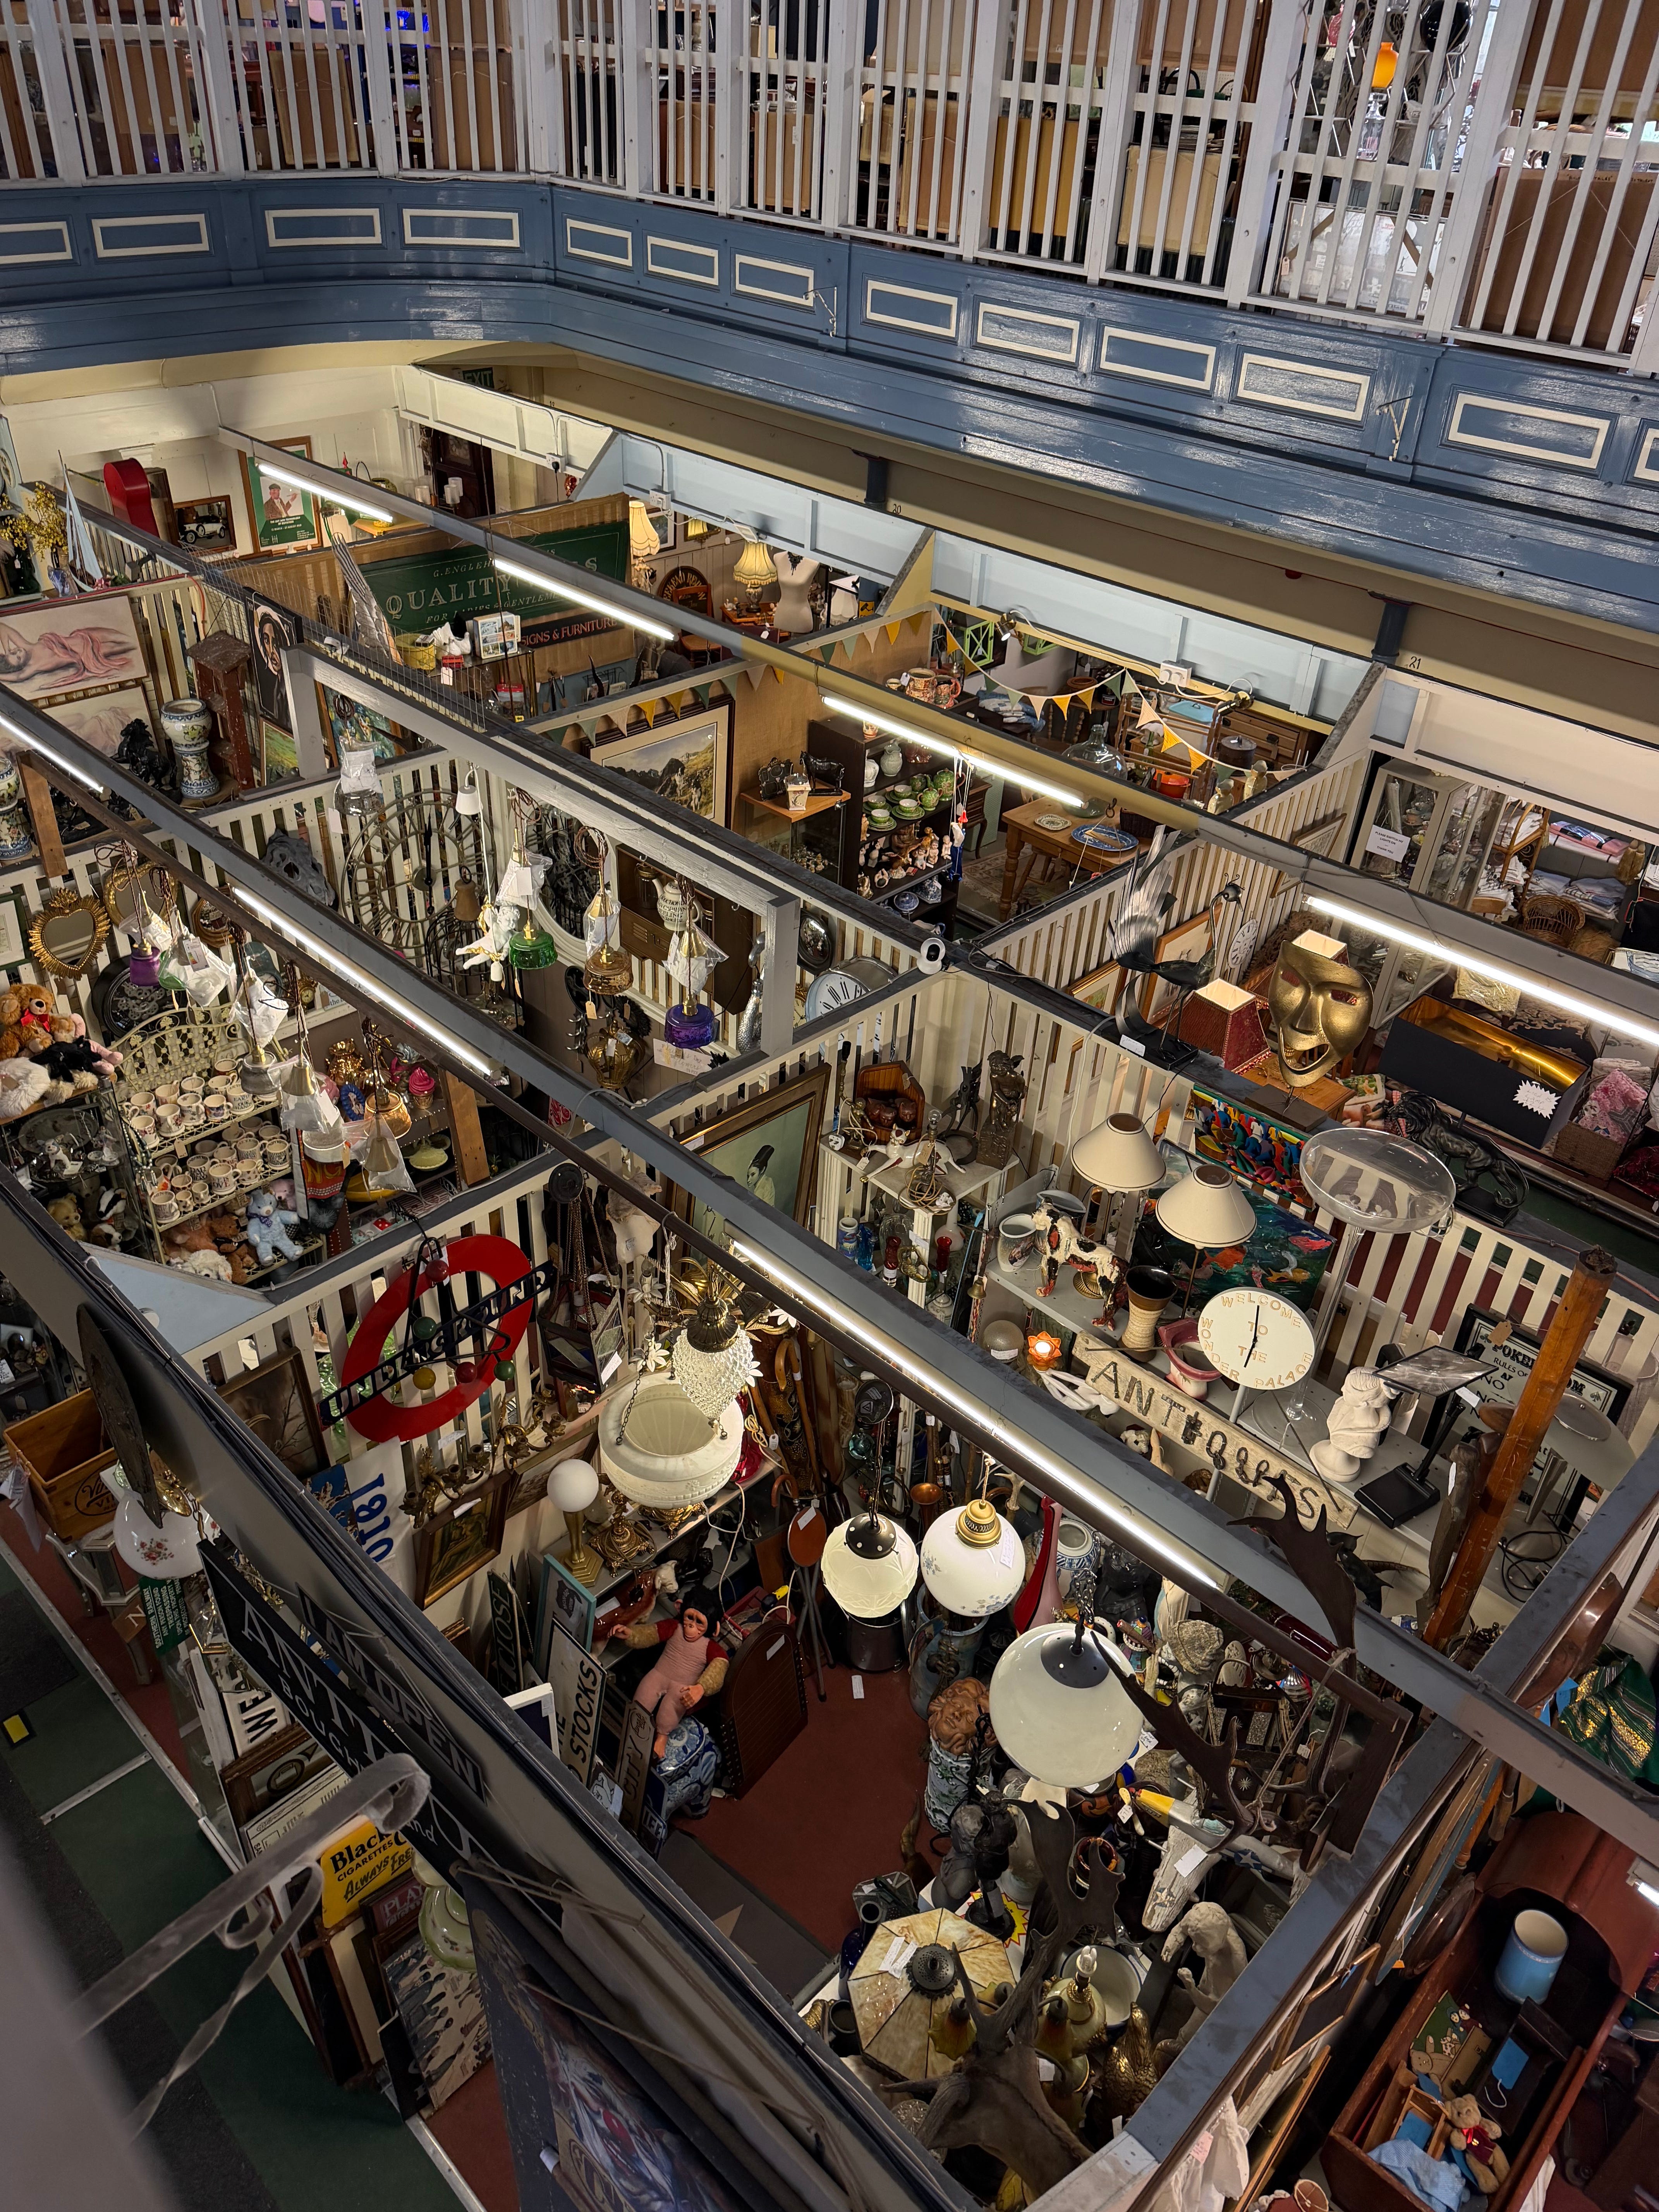
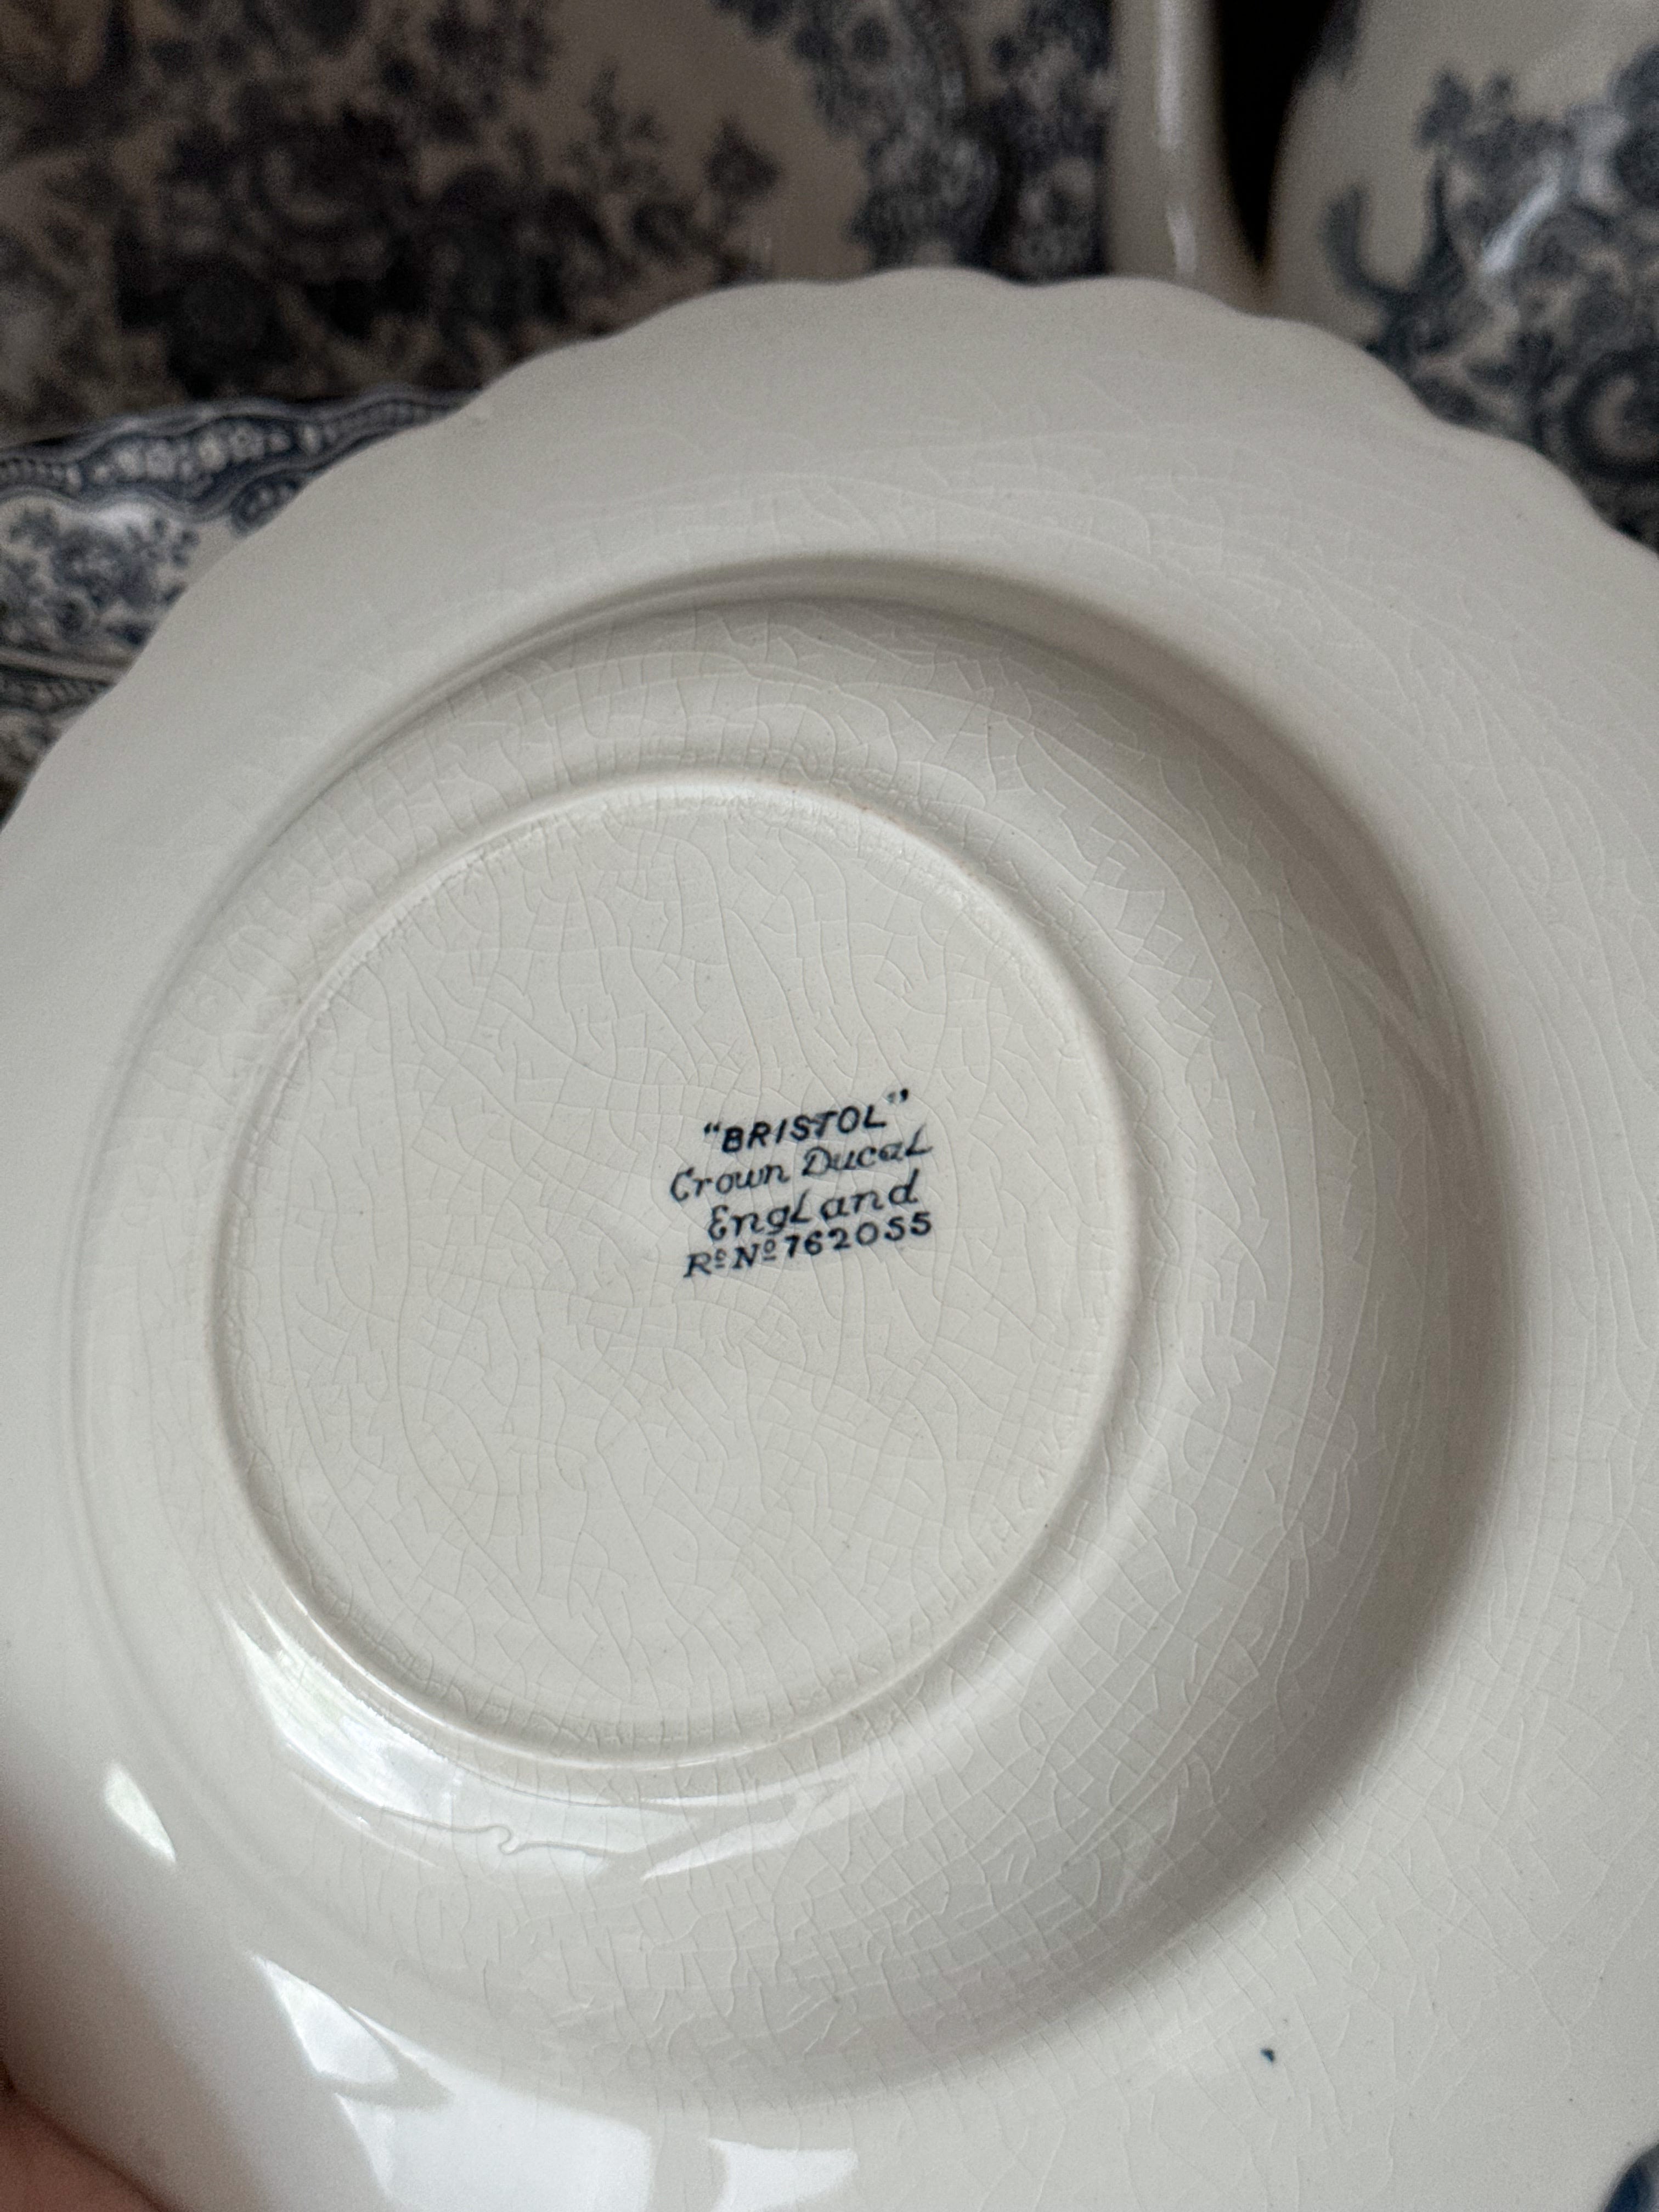
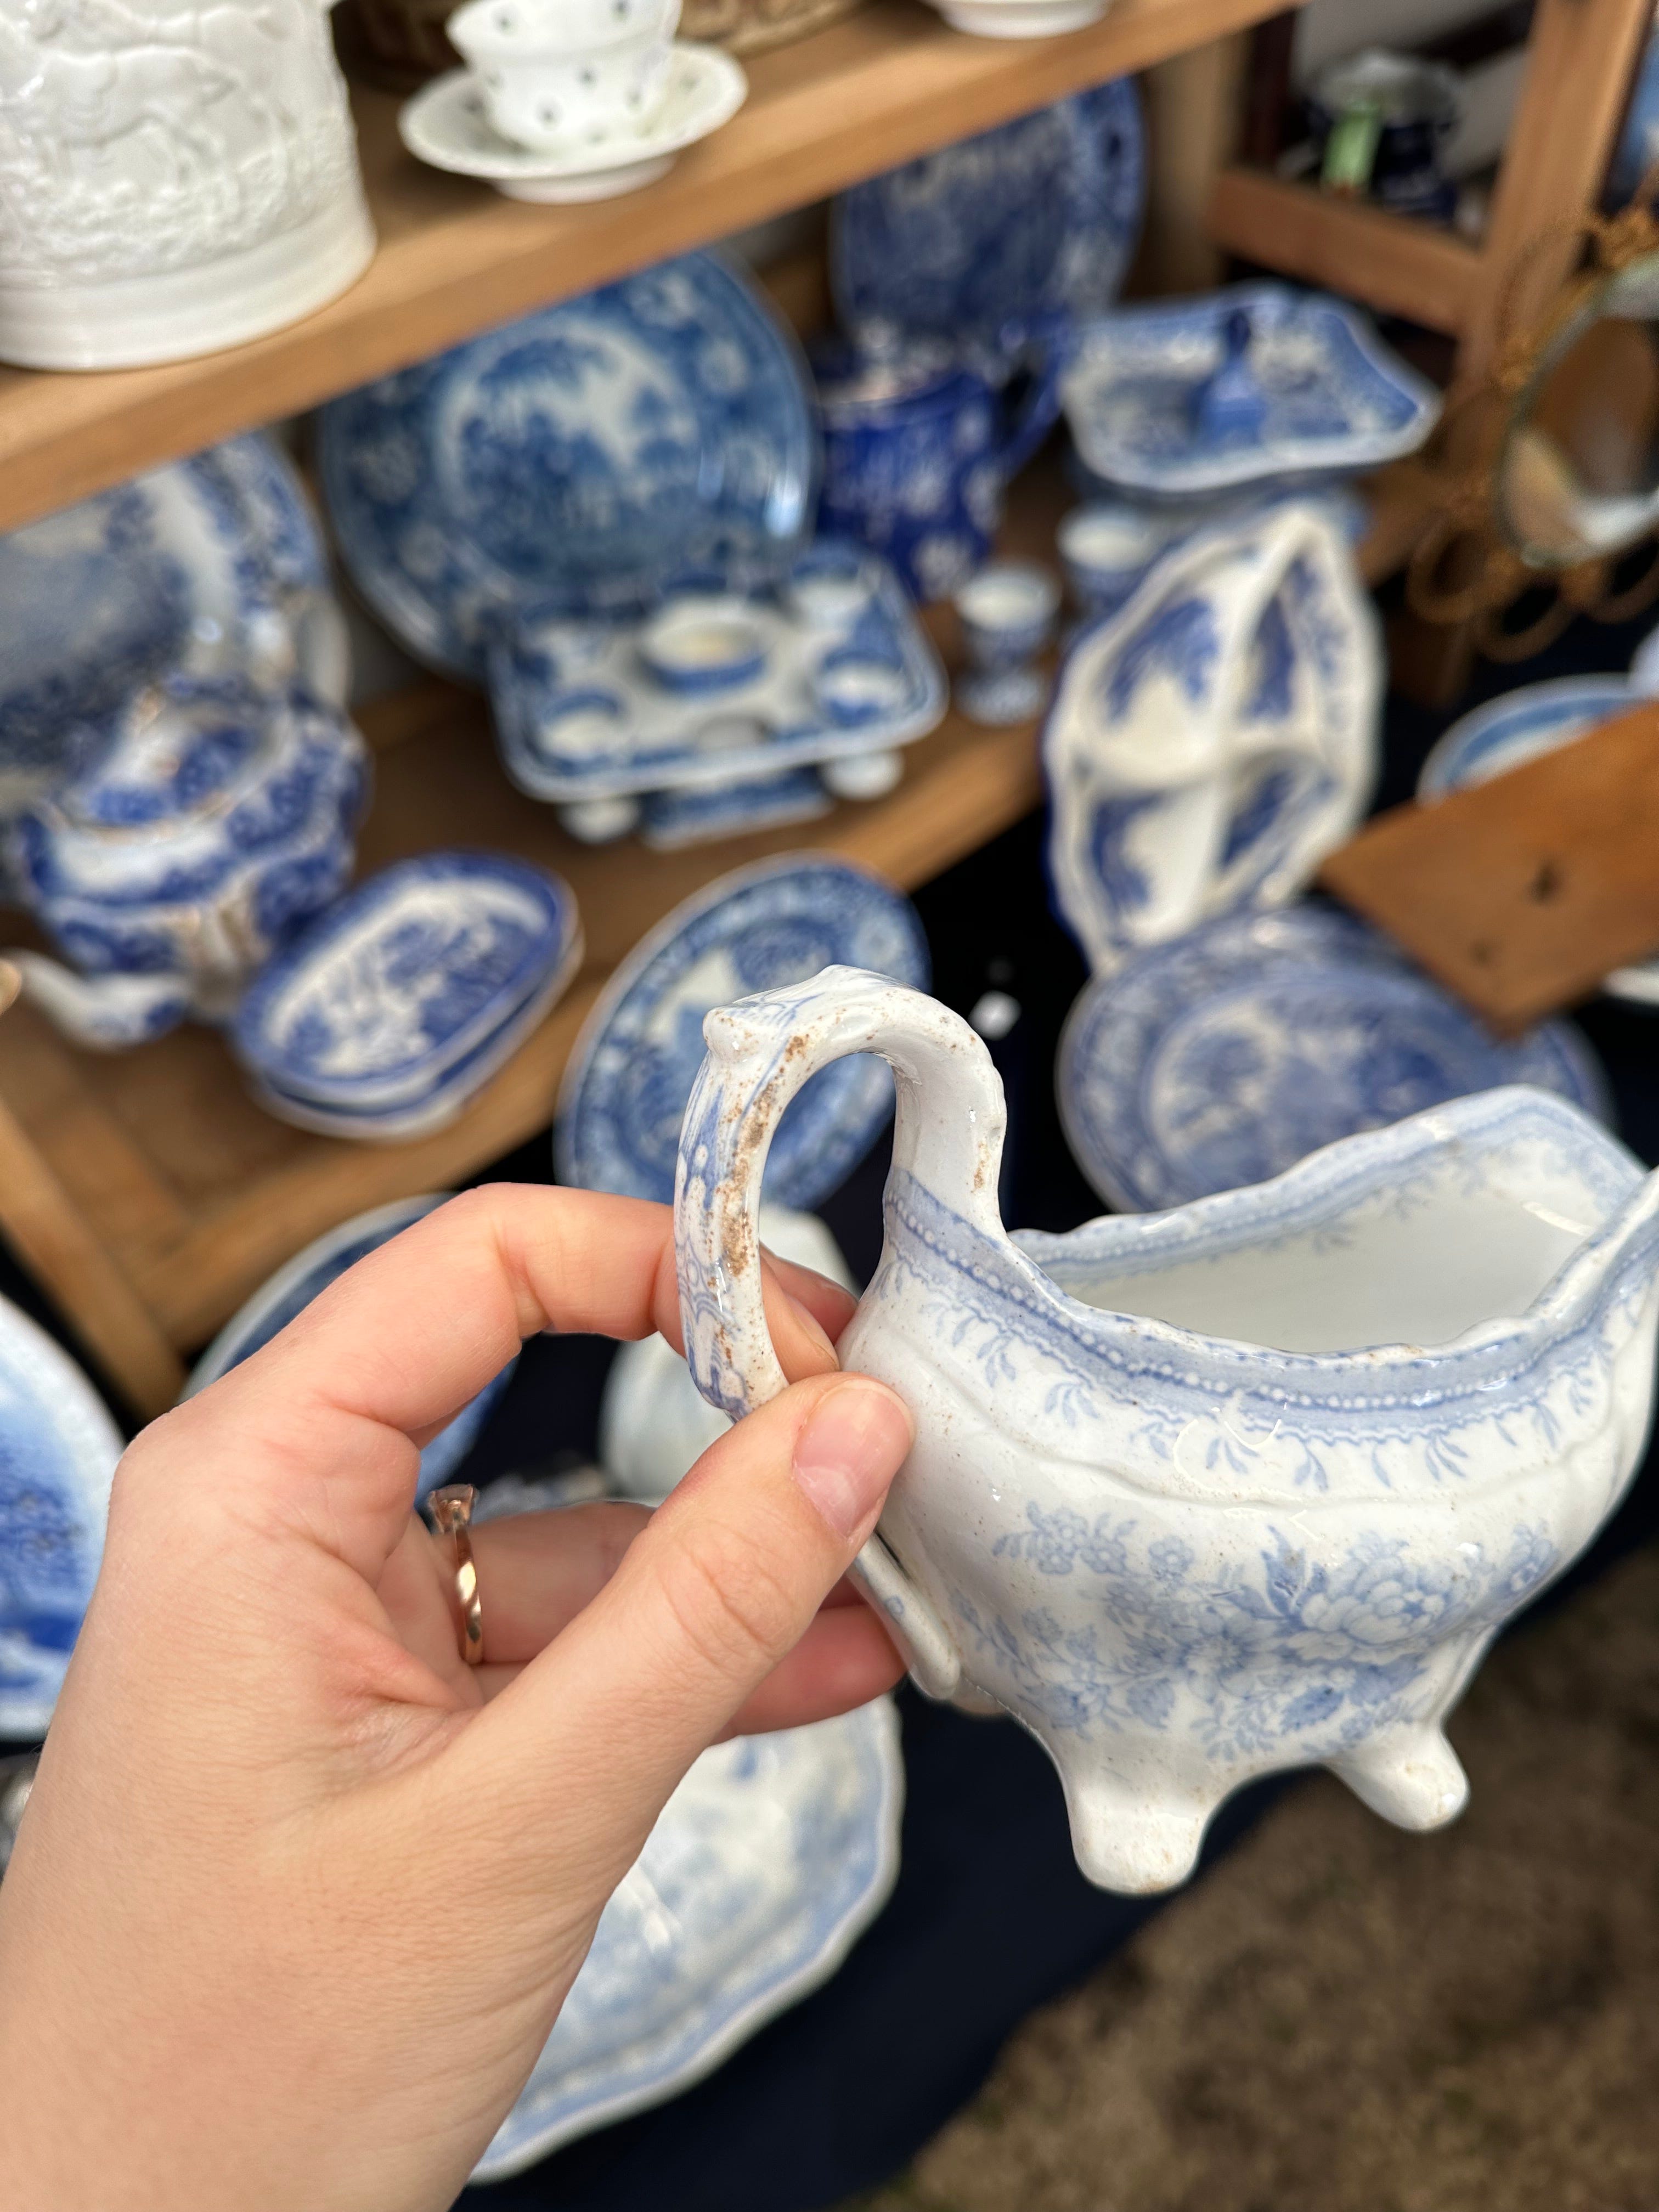
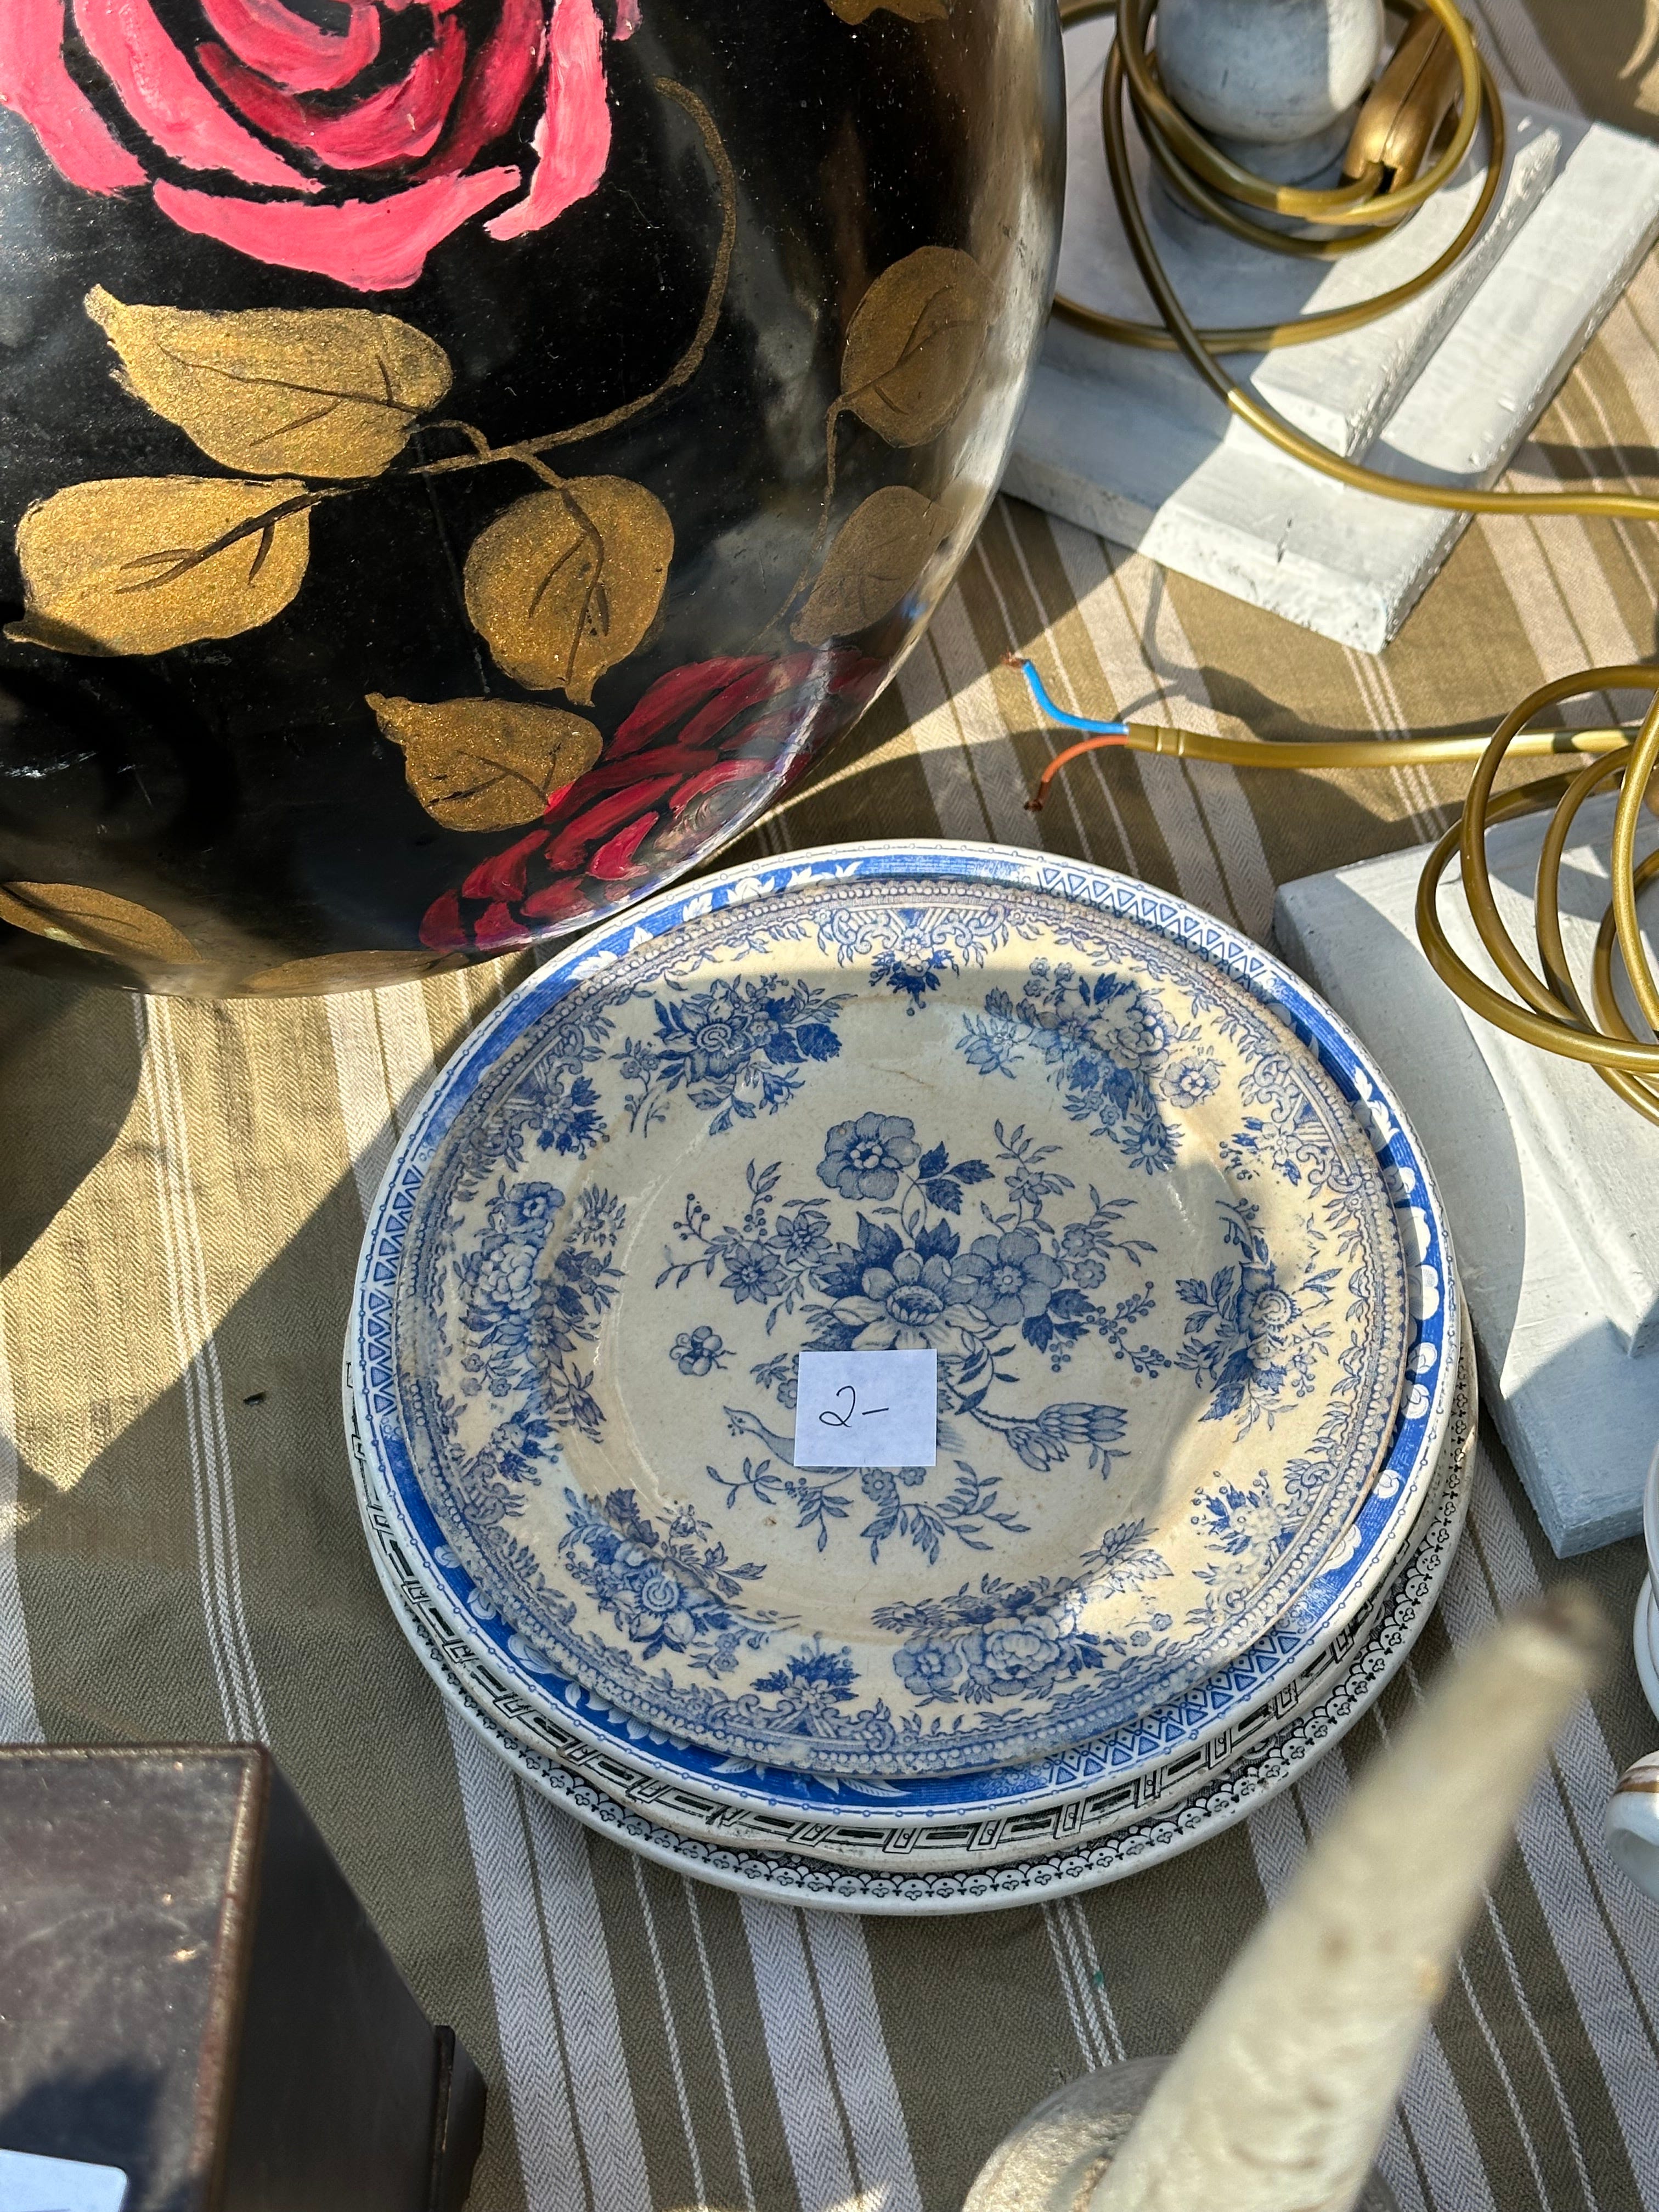
It’s been a while since I last wrote about vintage here. Even though recipes have taken over most of my newsletter lately, collecting vintage tableware is still a huge part of my everyday life. I’ve been doing it for more than six years now, and I still spend an unreasonable amount of time wandering around charity shops, flea markets, antiques centres and vintage fairs etc. I think a lot of collectors will understand this feeling. Sometimes my favourite way to switch off isn’t baking, watching a film or scrolling on my phone. It’s spending hours walking through an antiques centre full of things most people would probably call junk. There’s something strangely calming about it. Looking through shelves, turning over plates to check makers’ marks, spotting a pattern you’ve never seen before, or finding something you’ve been searching for for months. And then there’s the excitement. Finding a piece you’ve dreamed about owning. Negotiating a great price. Spotting something special hidden between dozens of ordinary things. It’s such a small thing, but that feeling never gets old.
Over the years I’ve brought home a lot of vintage pieces all around the world, and with that came a lot of questions about how to properly care for them.
Can vintage china go in the dishwasher?
What causes yellow stains?
How do you clean silver-plated pieces?
What exactly is crazing?
So I thought I’d put together everything I’ve learned over the years and share the cleaning methods, products and tips that have worked best for me.
First Things First: What Is Crazing?
Before we get into cleaning methods, I think it’s worth talking about something almost every vintage collector comes across sooner or later: crazing. (spoiler alert: there’s absolutely nothing wrong with crazing!)
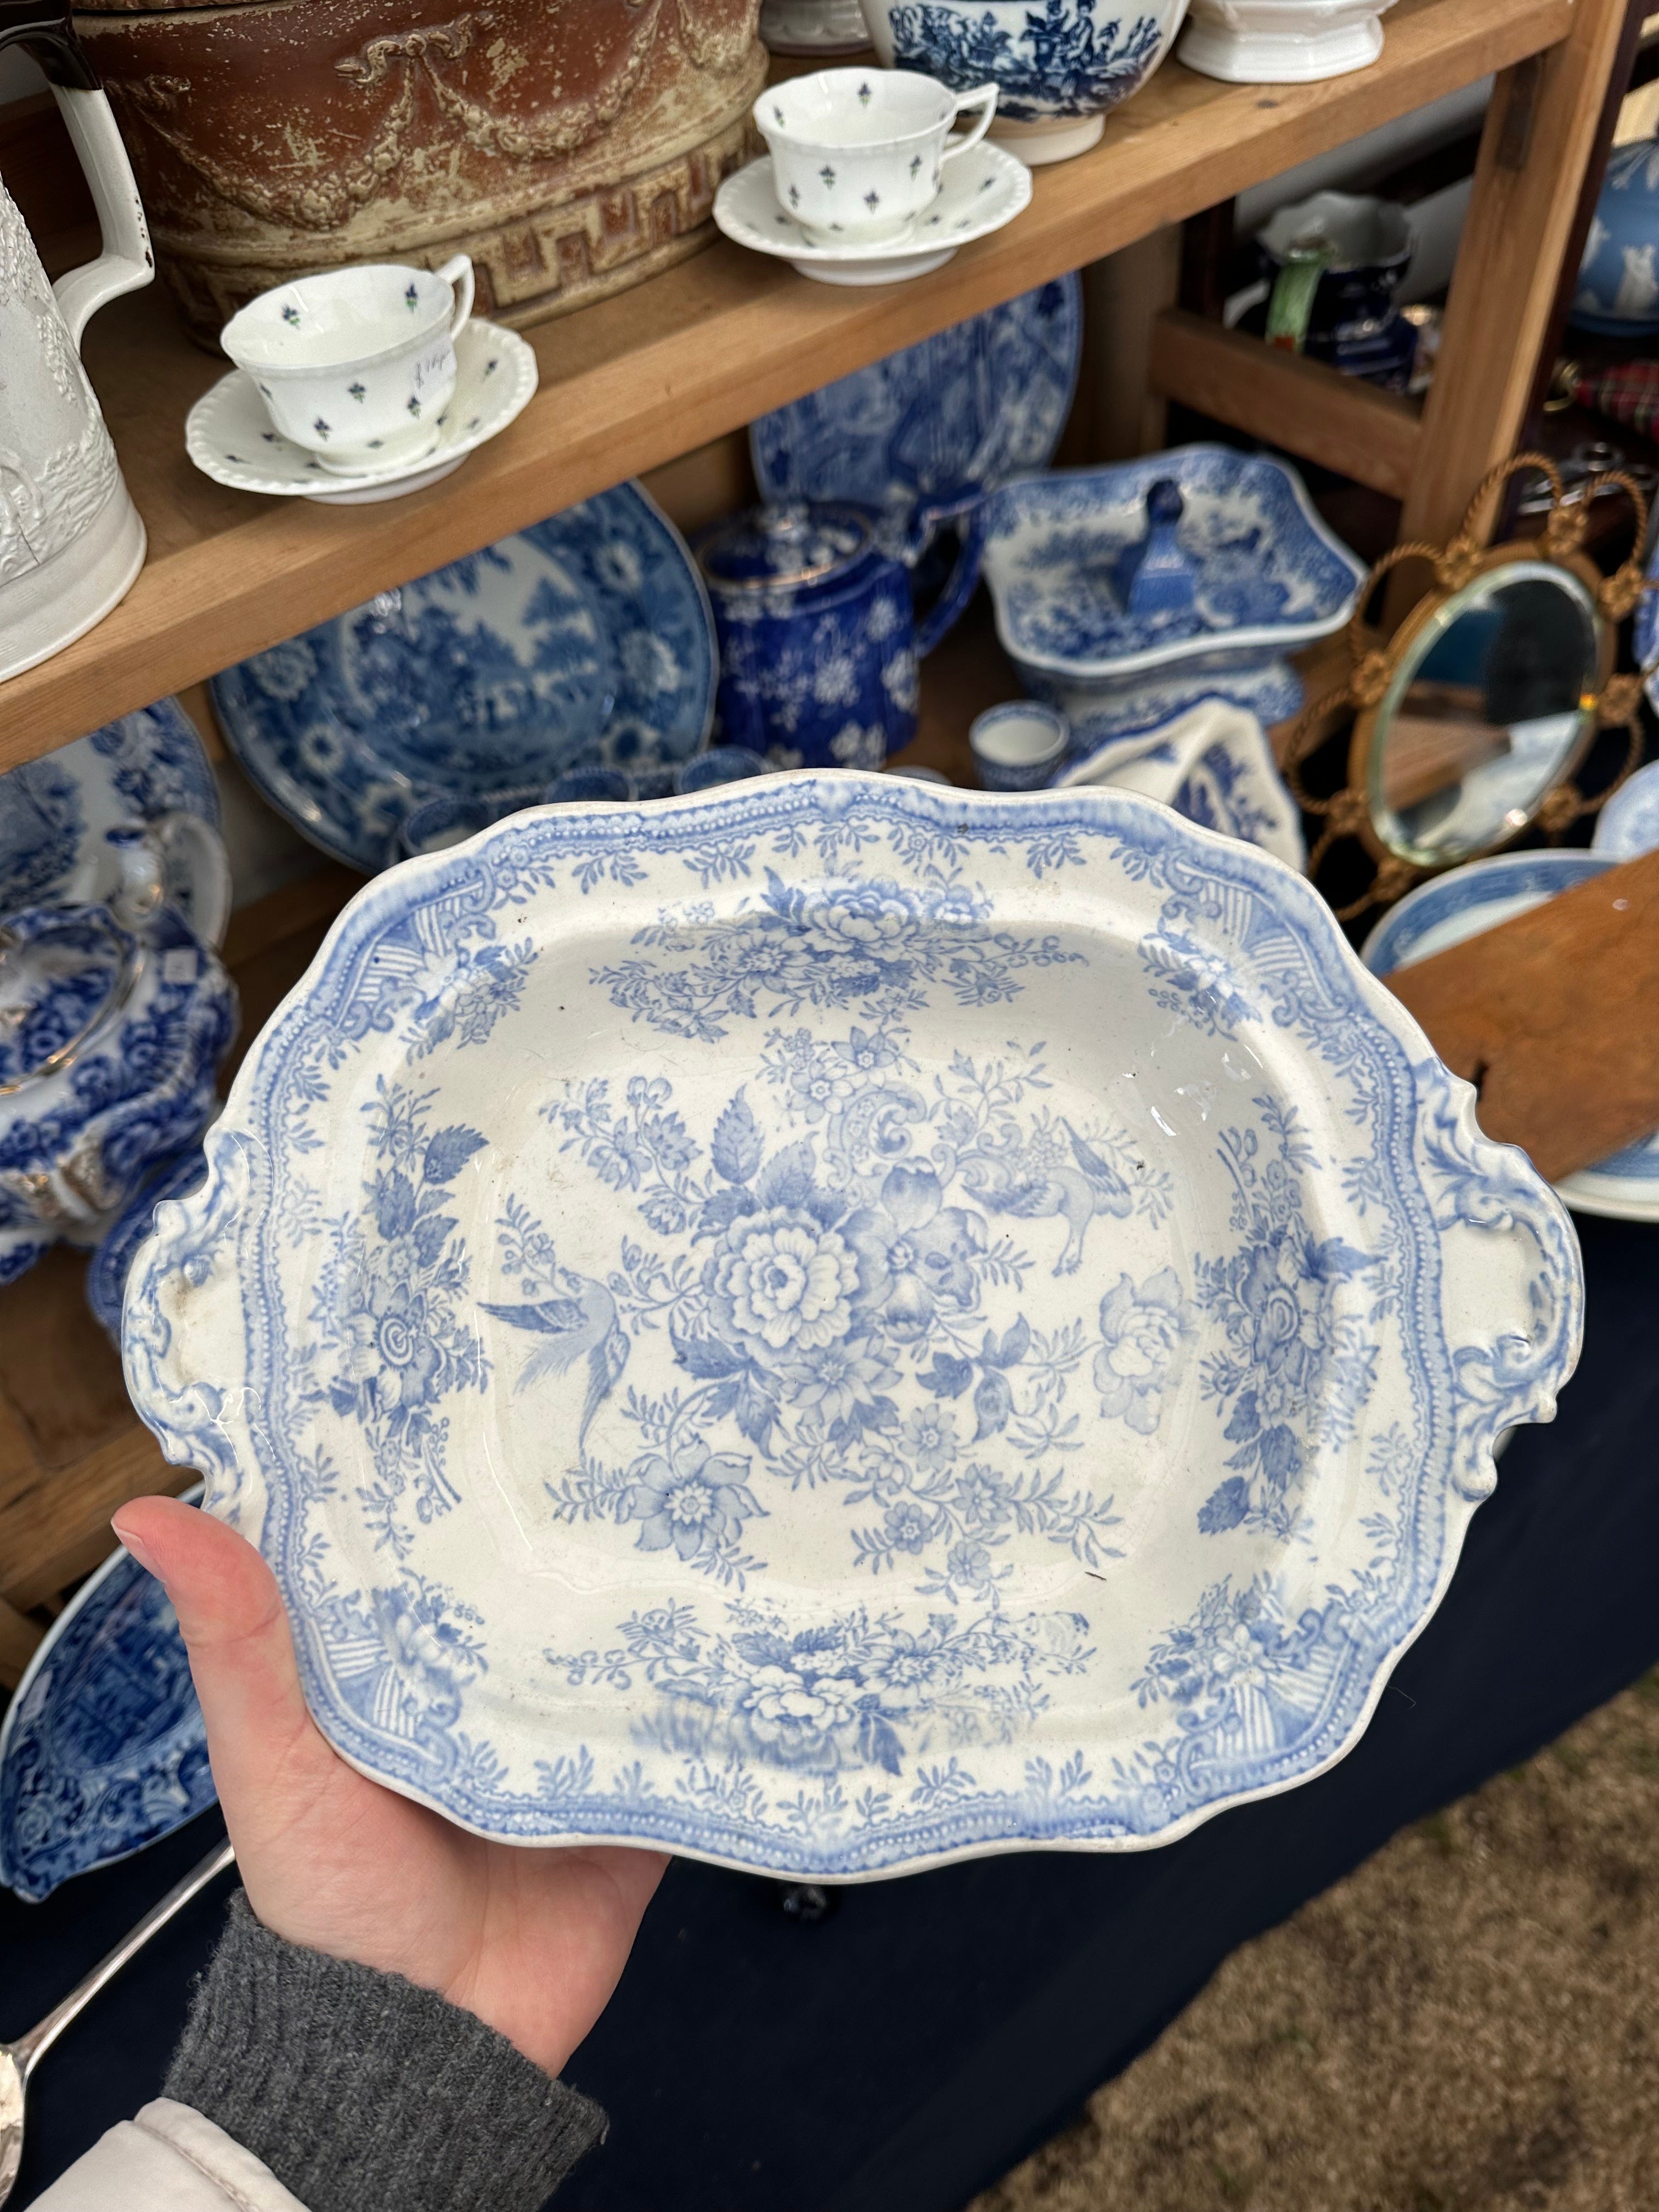
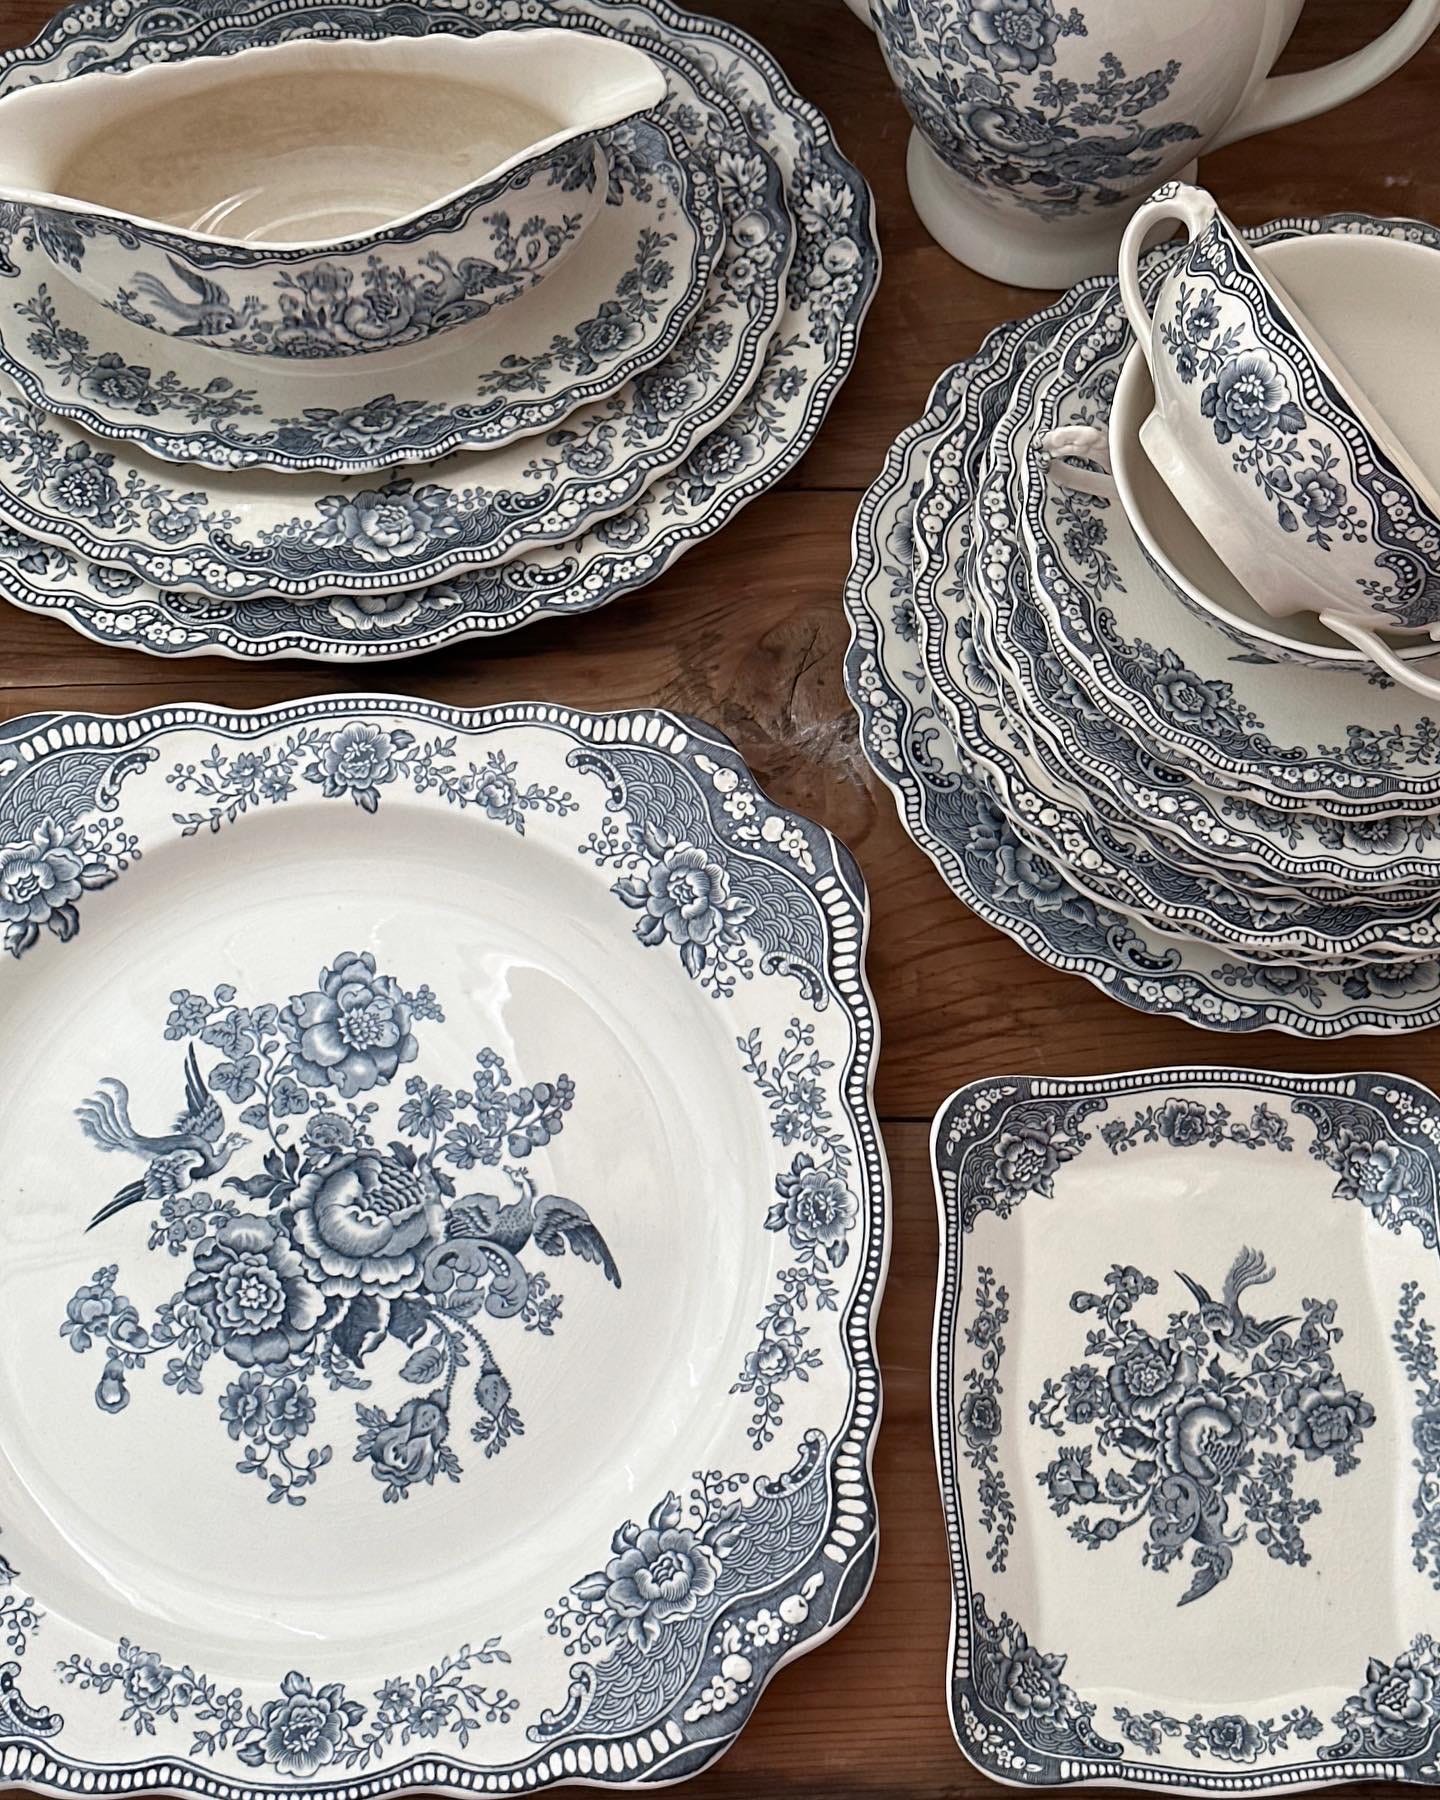
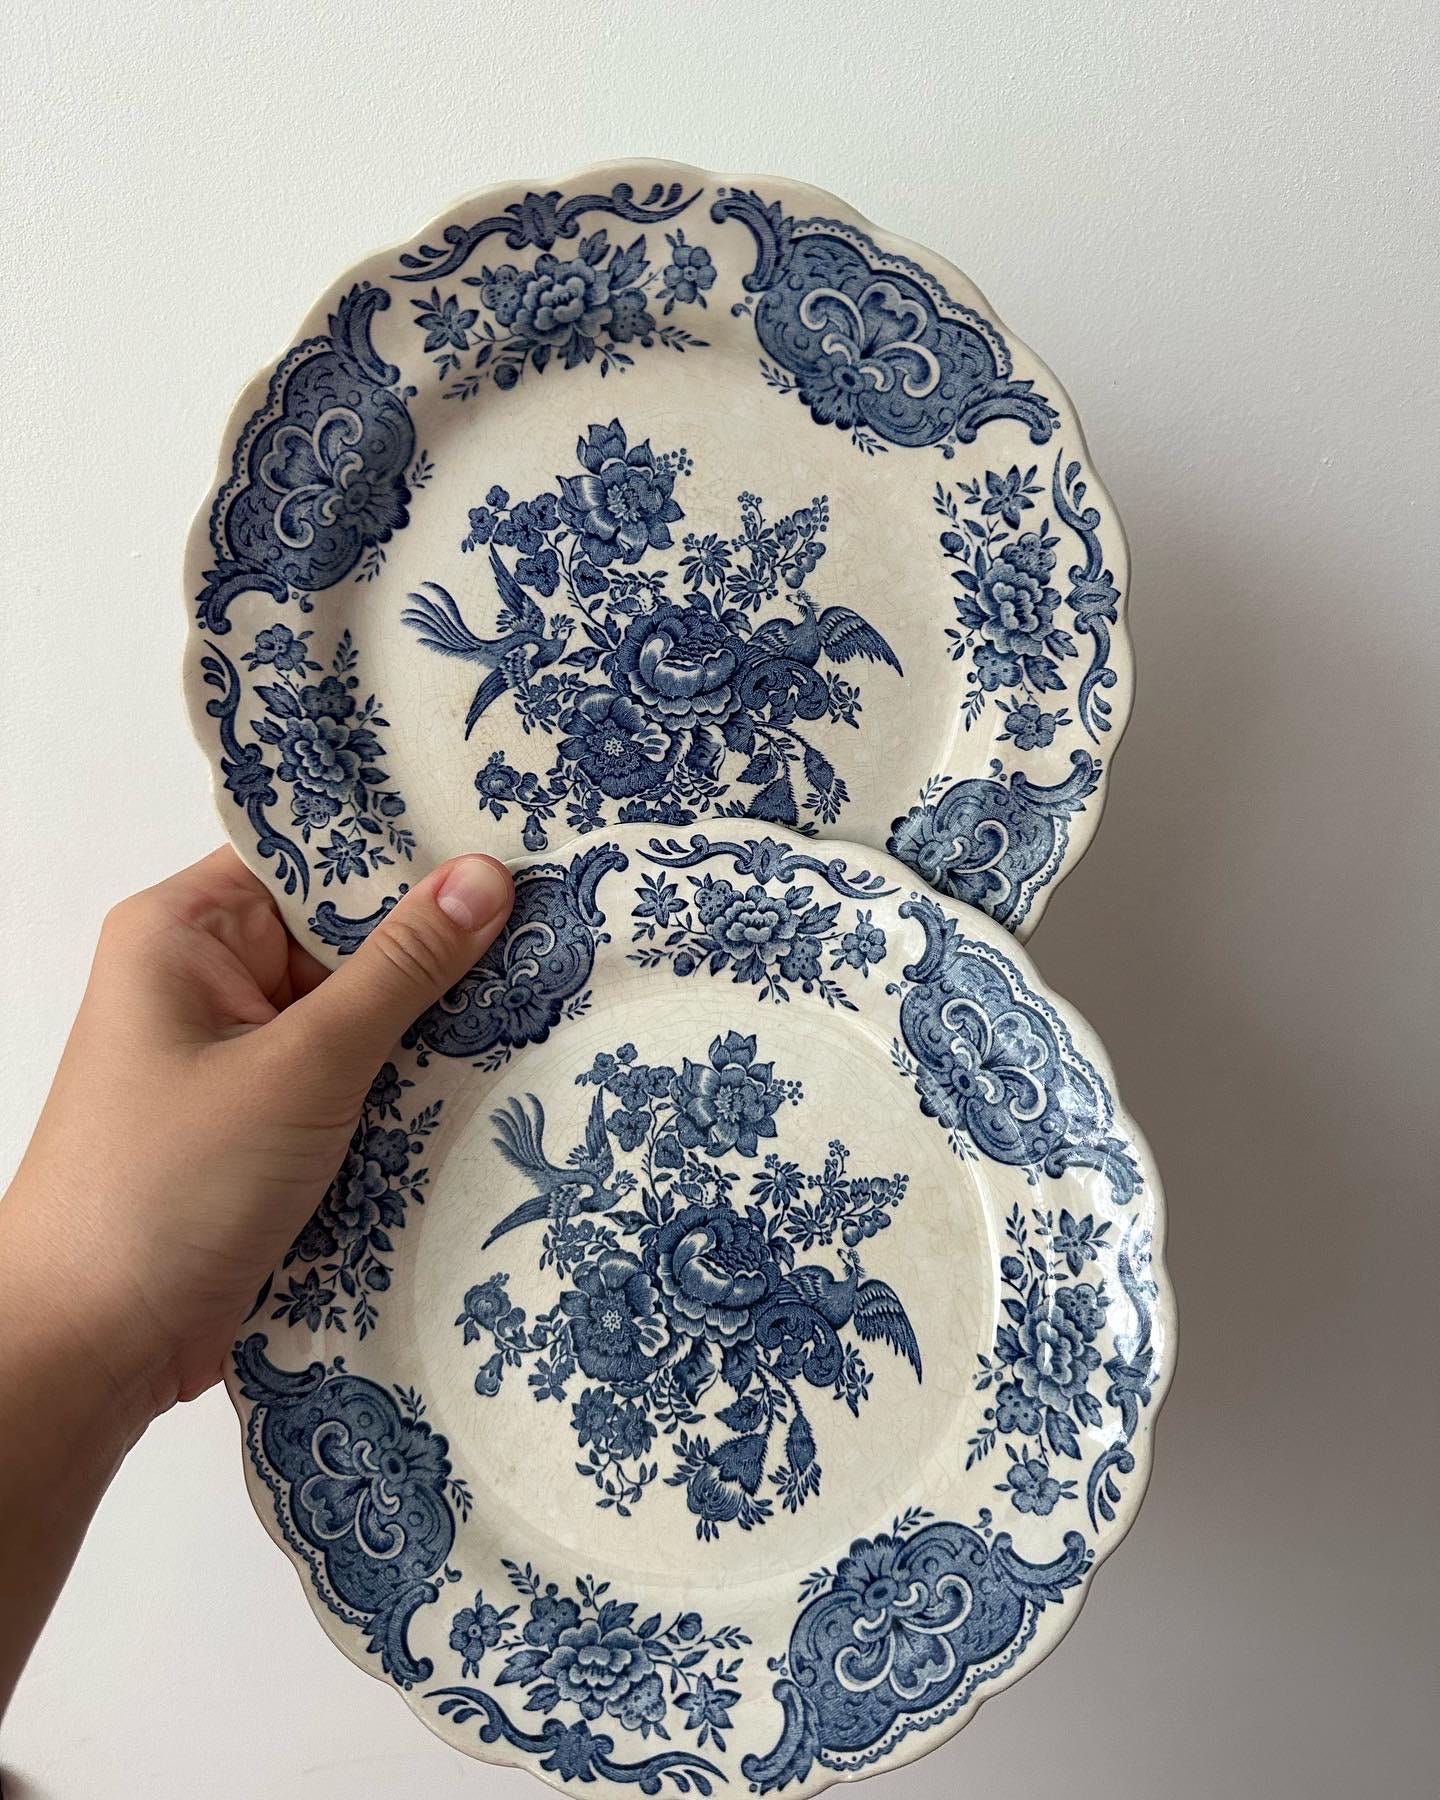
If you’ve ever picked up an old plate at a flea market and noticed a fine spiderweb pattern running across the surface, that’s most likely crazing. Crazing is a network of tiny hairline cracks that develops in the glaze rather than in the ceramic body itself. In other words, the plate isn’t necessarily cracked — the glaze sitting on top of it is. Many people assume crazing appears because a piece has been damaged, but that’s not always true. In fact, some of the most beautiful antique and vintage pieces I’ve seen have extensive crazing.
The reason it happens comes down to materials and time. One thing that’s worth understanding is that vintage earthenware, ironstone, porcelain and bone china weren’t made from a single material. Depending on the maker and period, they were produced using different combinations of kaolin (china clay), ball clay, feldspar, flint and, in the case of bone china, bone ash. The glaze sitting on top of the piece is an entirely separate layer. Over decades, and sometimes even centuries, these materials naturally expand and contract at slightly different rates. Add changes in temperature, humidity and simple ageing, and that’s often when crazing begins to appear. Which means crazing isn’t necessarily the result of damage or poor care. In many cases, it’s simply the natural consequence of a piece growing old. In fact, a piece doesn’t even need to be used for crazing to develop. I’ve seen plates that spent decades sitting safely in a cabinet and still developed additional crazing over time. Age, humidity, temperature fluctuations and the natural behaviour of the materials themselves can all play a role. That’s why proper storage matters just as much as proper cleaning.
Underglaze vs Overglaze Crazing
Collectors often use the terms underglaze and overglaze crazing, although what they’re usually describing is where the damage appears and how deep it goes.
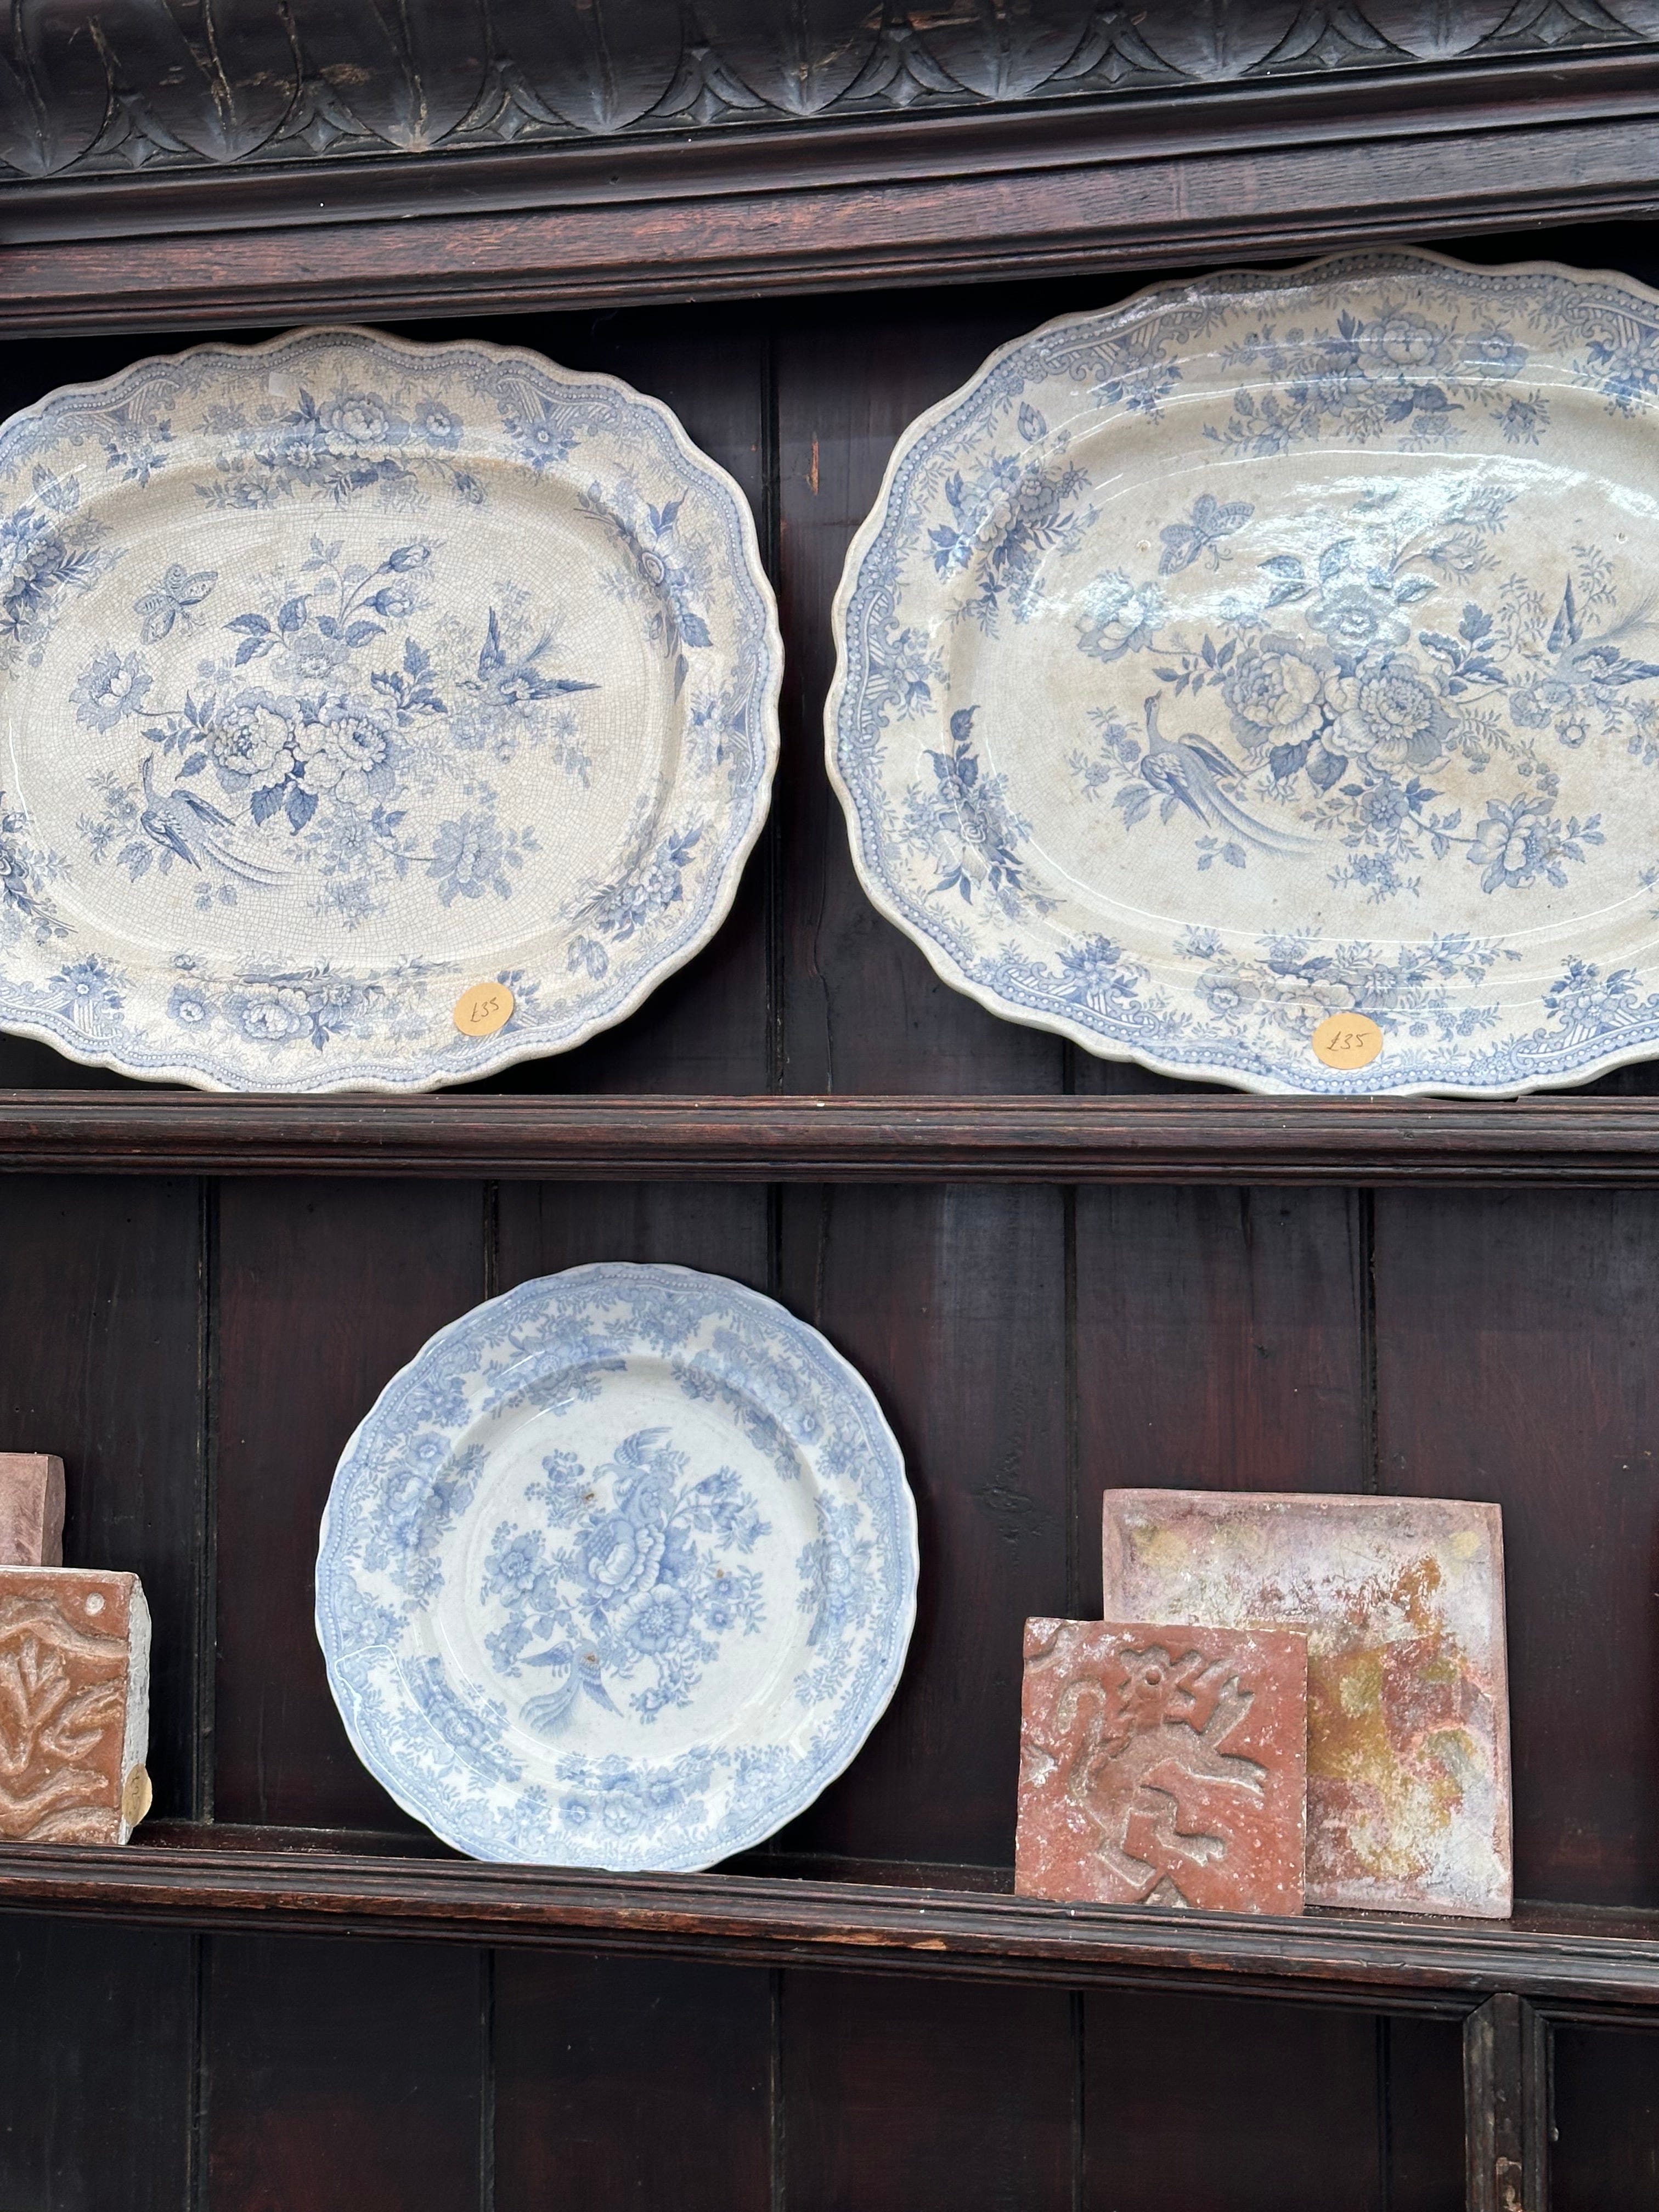
With superficial crazing, the network of cracks is mostly visible within the glaze layer itself. The piece may still feel completely smooth when you run your fingers across it. More significant crazing can become stained over time as moisture, tea, coffee, fruit juices and food pigments work their way into the tiny cracks. This is usually what causes the yellow, brown or grey discoloration that many collectors notice on older pieces.
It’s important to understand that crazing isn’t necessarily dangerous or a reason to throw a piece away. Many collectors consider it part of the character of vintage tableware and honestly, I’m one of them. I own plenty of crazed pieces and still love them. The key is understanding what you’re looking at.
A stained crazing network requires a different approach from surface dirt. And both are very different from structural cracks that compromise the integrity of the piece.
One of the biggest mistakes I see people make is treating every vintage plate the same way.
A sturdy 1970s dinner plate can often tolerate cleaning methods that I would never use on a delicate early 20th-century serving platter with extensive crazing and hand-painted details. That’s why I always recommend identifying the condition of a piece before deciding how aggressively to clean it.
Sometimes the goal is restoration.
Sometimes the goal is preservation.
And those are not always the same thing.
Can Vintage China Go In The Dishwasher?
I’ll answer the question I get asked most often straight away. Yes — a lot of vintage tableware can absolutely go in the dishwasher. I personally wash many of my vintage pieces that way.
However, there are exceptions.
If a piece has obvious cracks, heavy crazing, hand-painted decoration, gold trim or is particularly delicate and valuable, I usually wash it by hand instead. It’s not necessarily because the dishwasher will destroy it overnight. It’s more about preserving it for many years to come. I also avoid harsh dishwasher detergents and high-temperature cycles whenever possible.
A Few General Rules I Always Follow
Don’t leave food, fruit juices or strongly coloured sauces sitting on crazed pieces for long periods of time. Pigments can seep into the crazing and become difficult to remove.
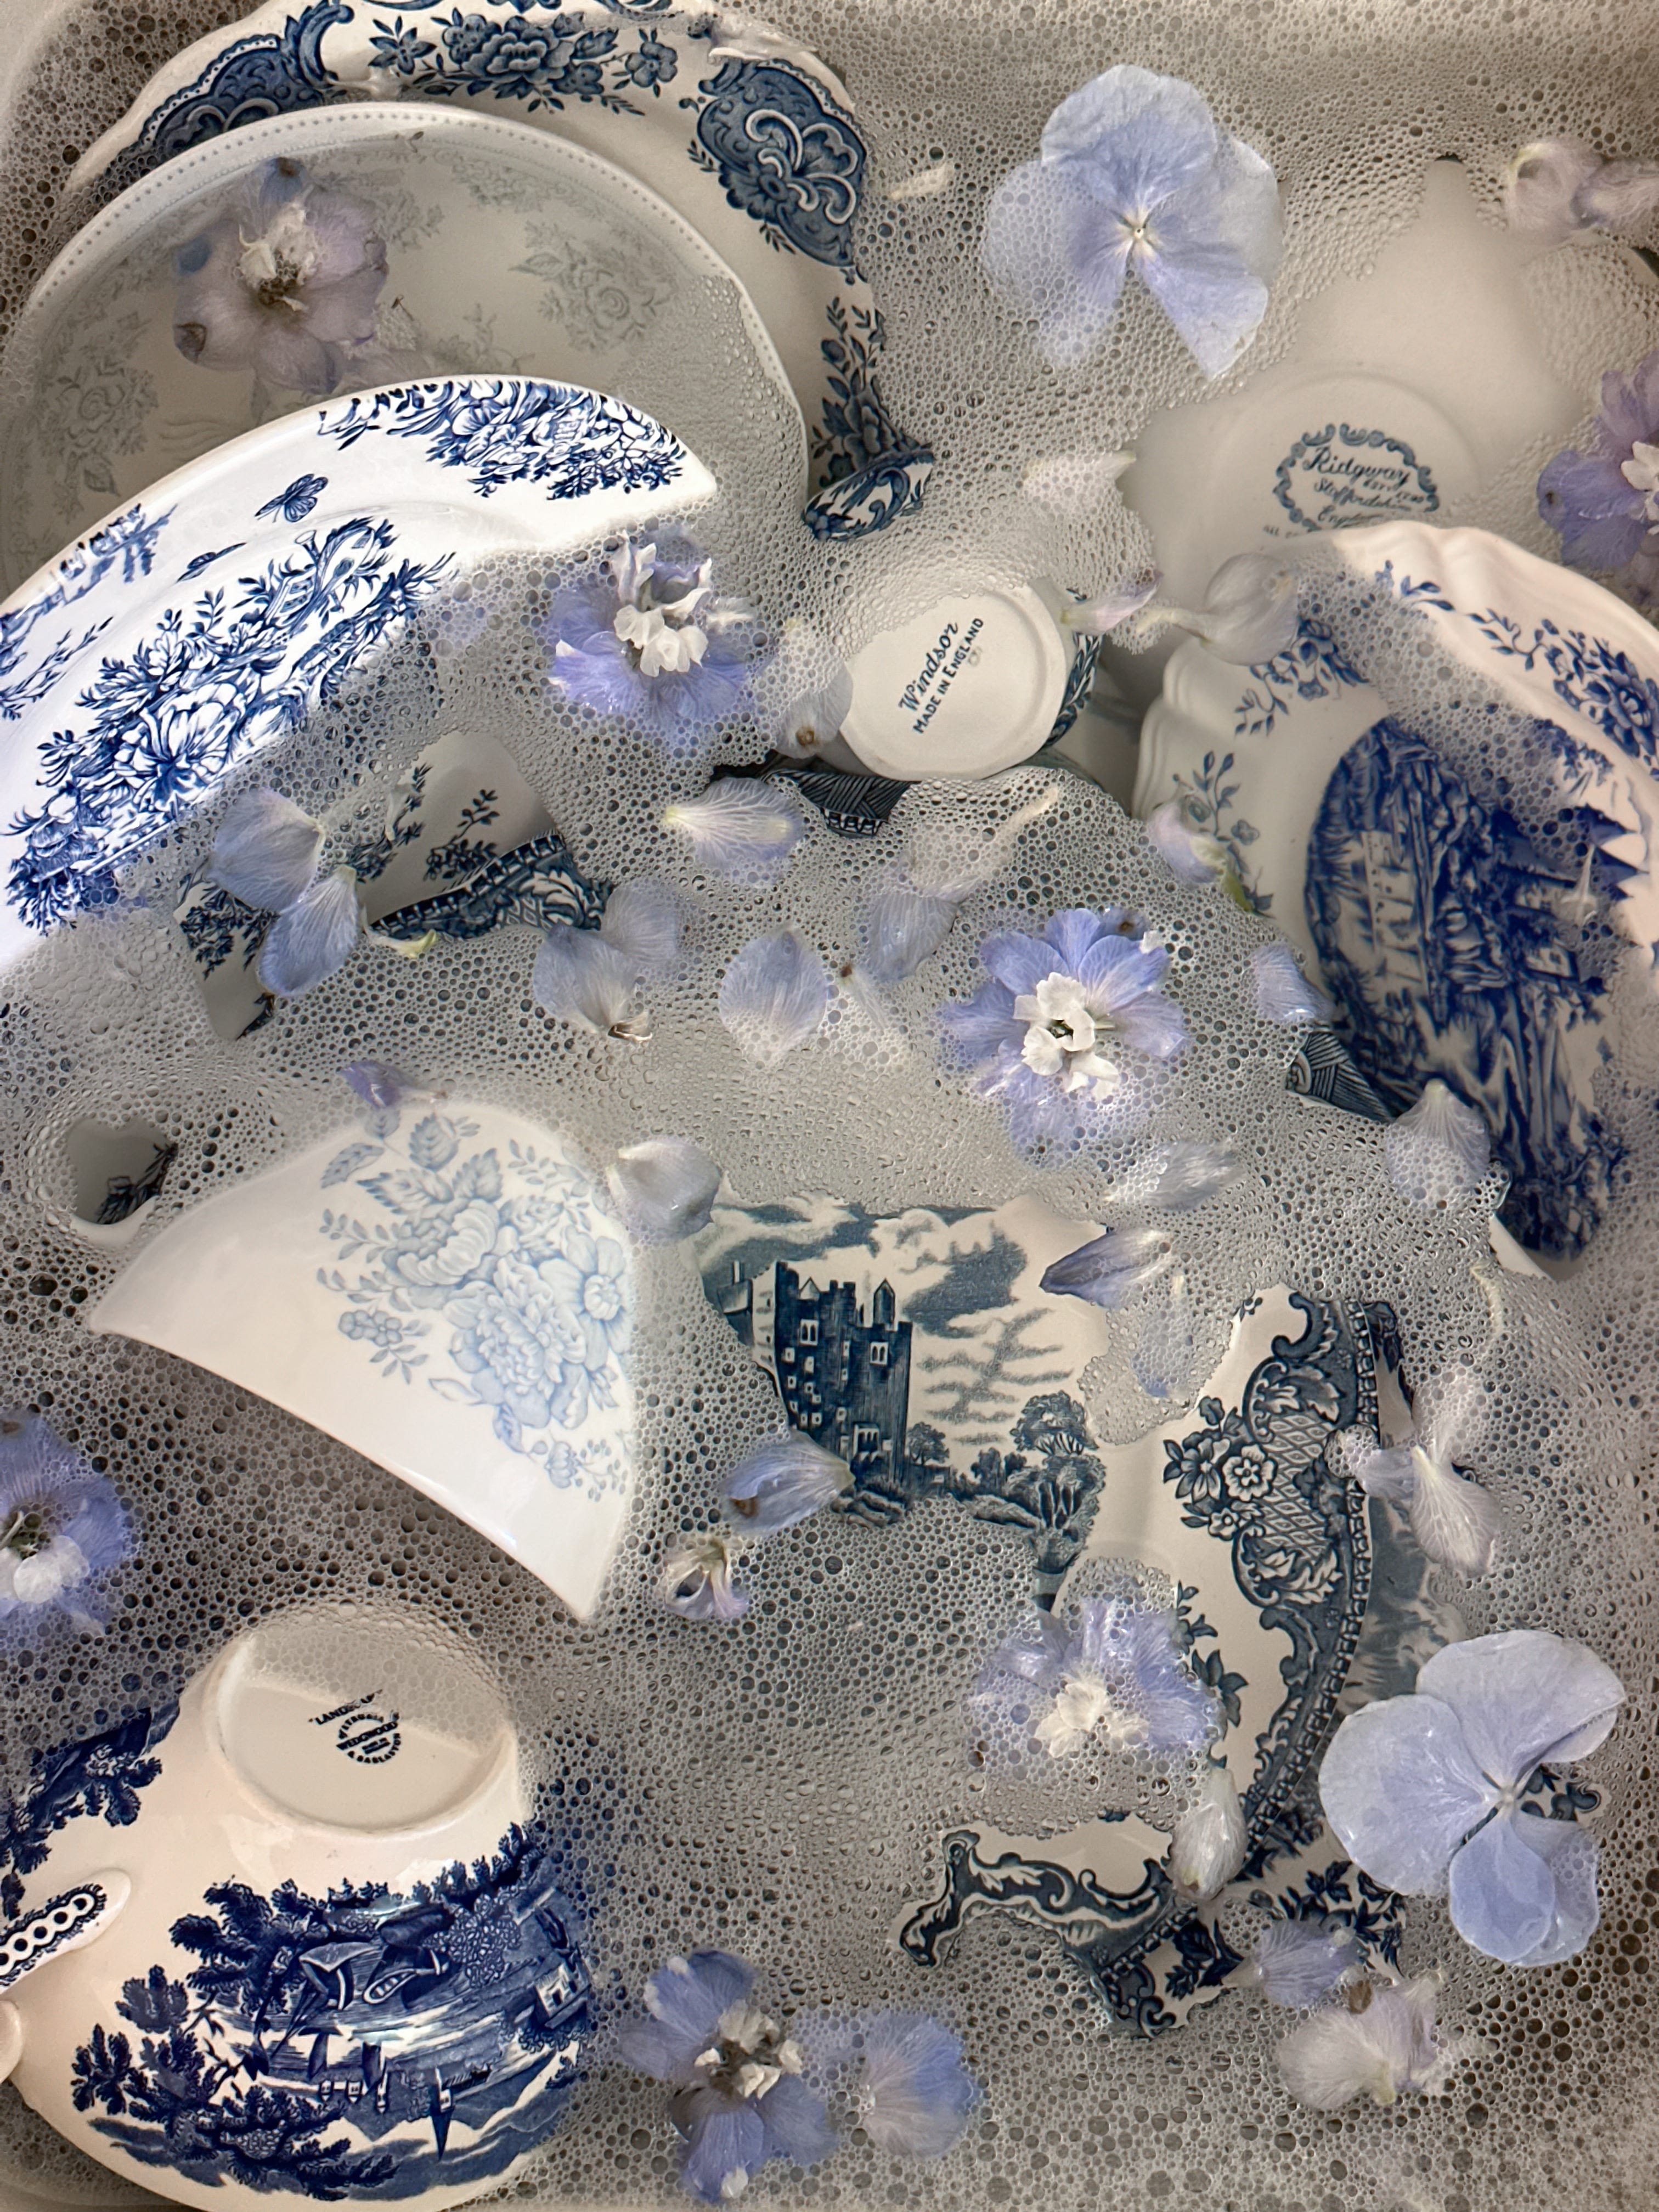
Avoid soaking crazed or cracked pieces for extended periods.
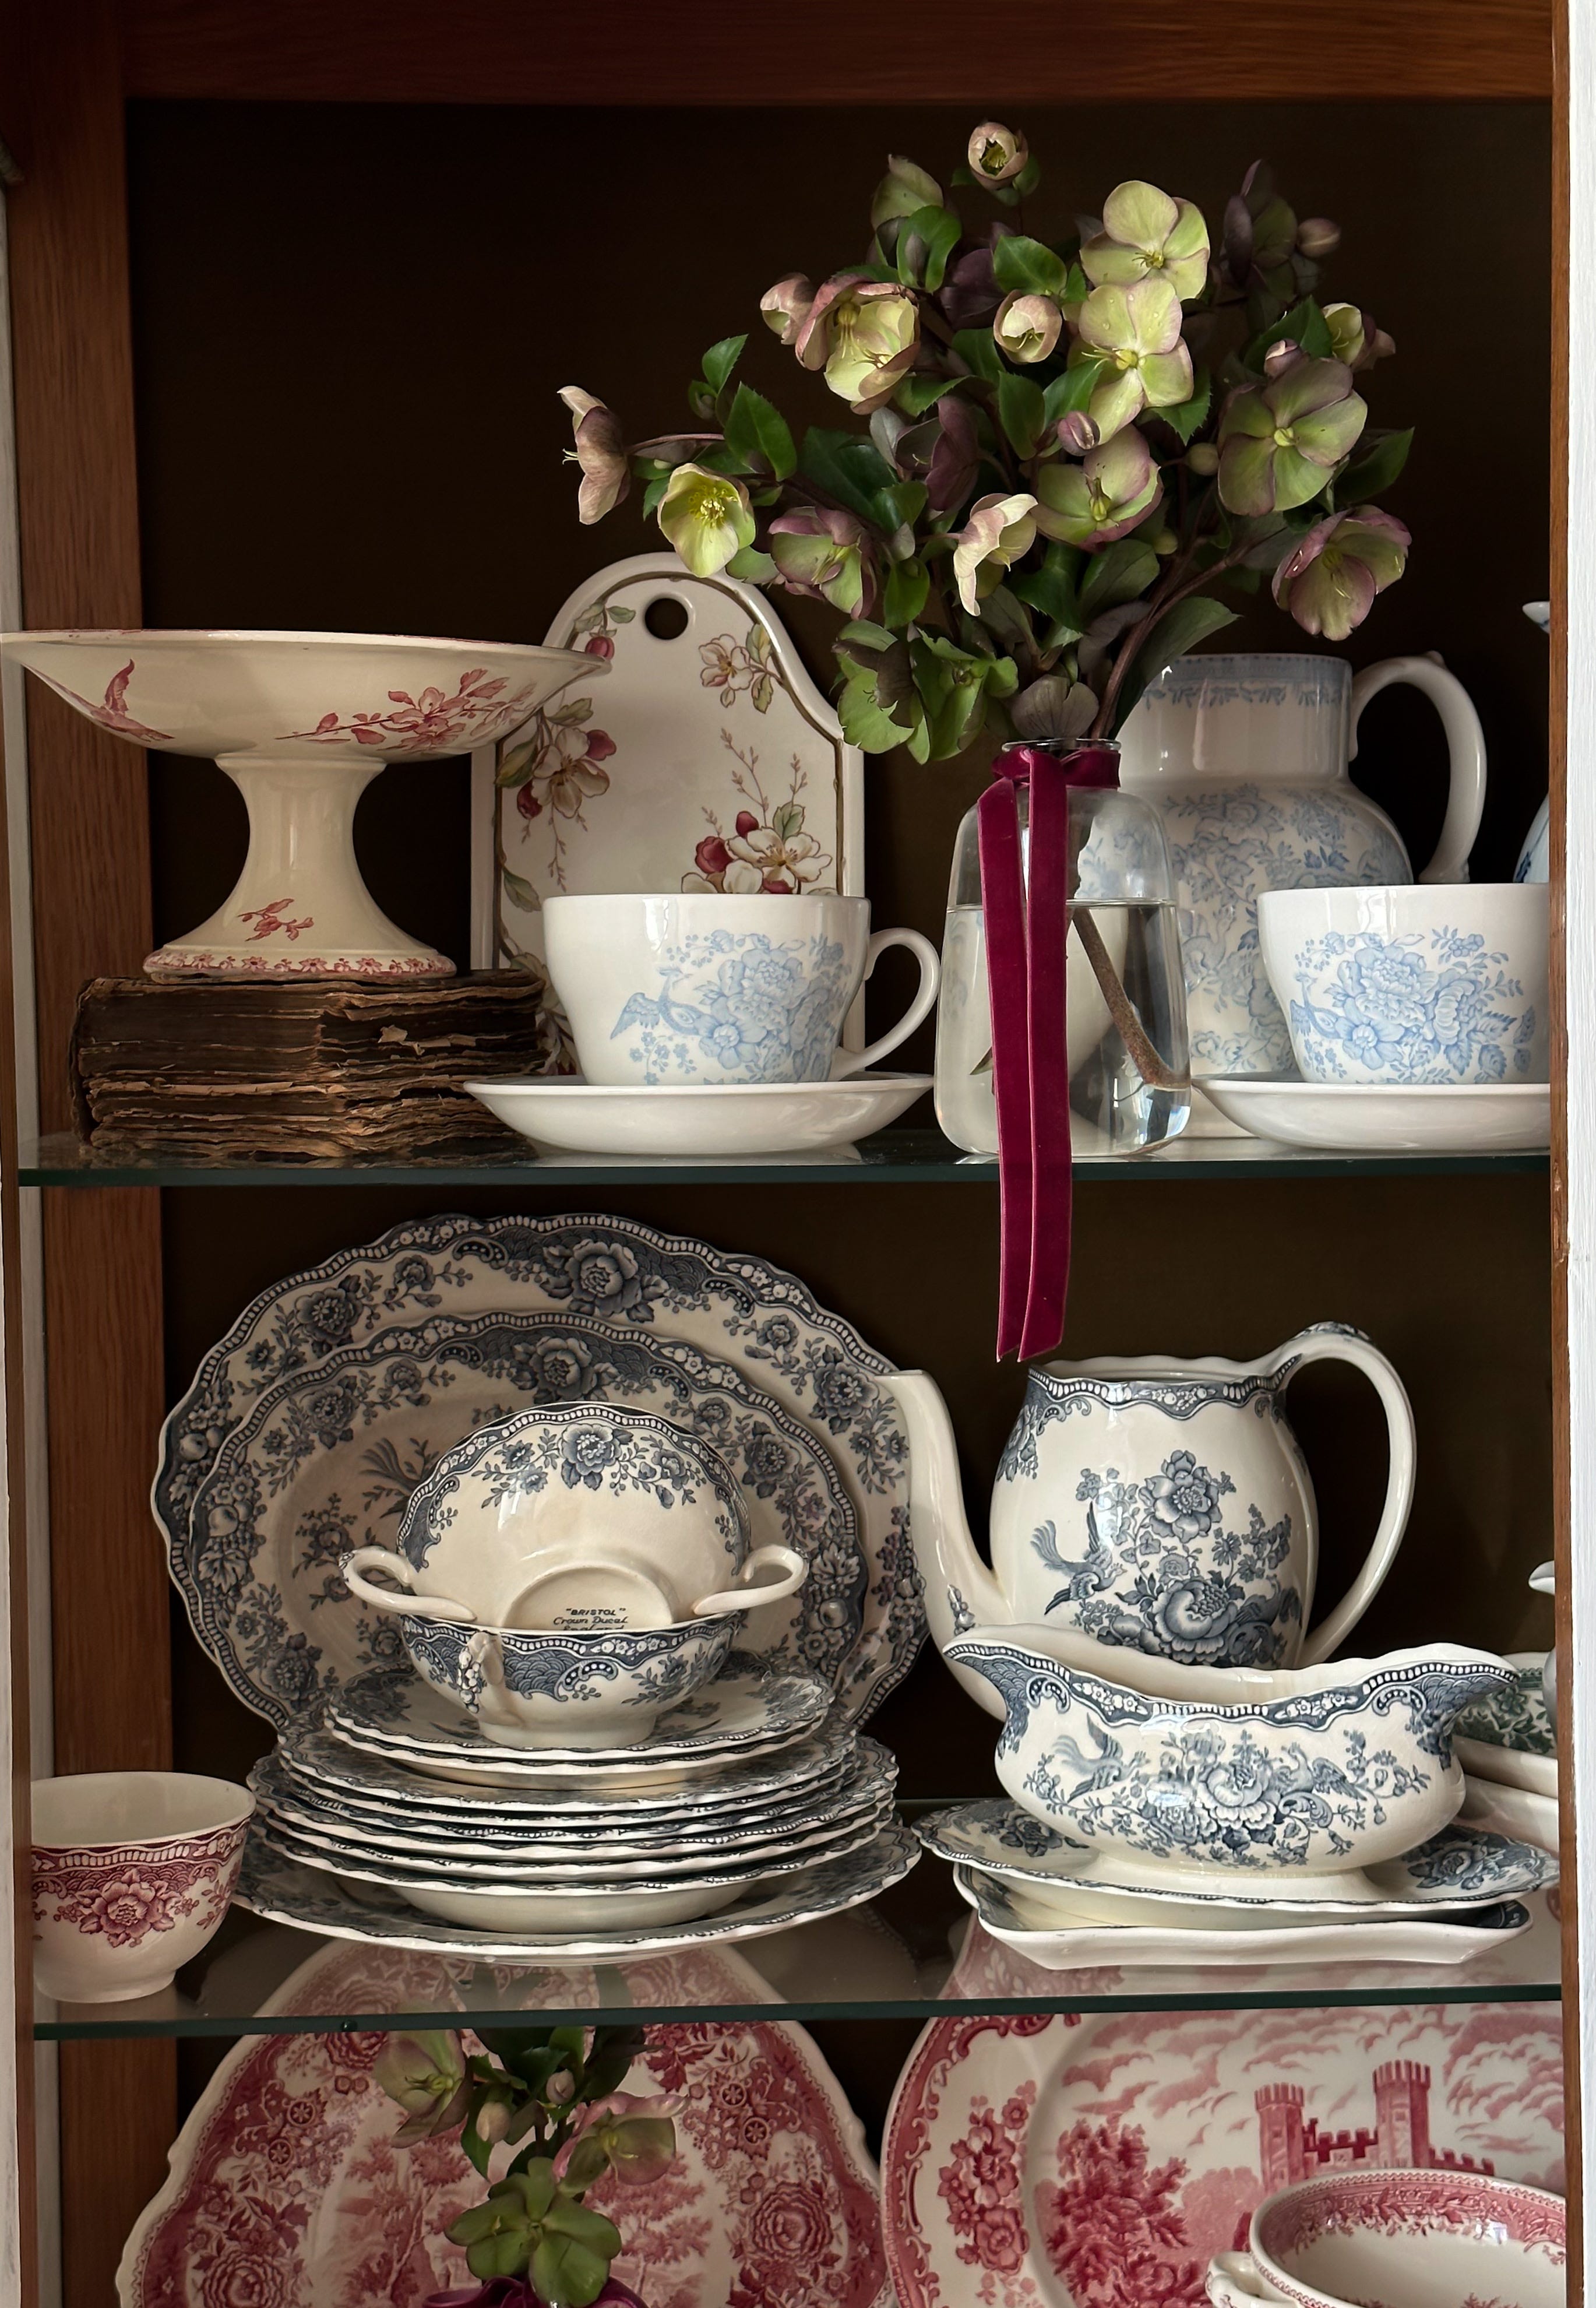
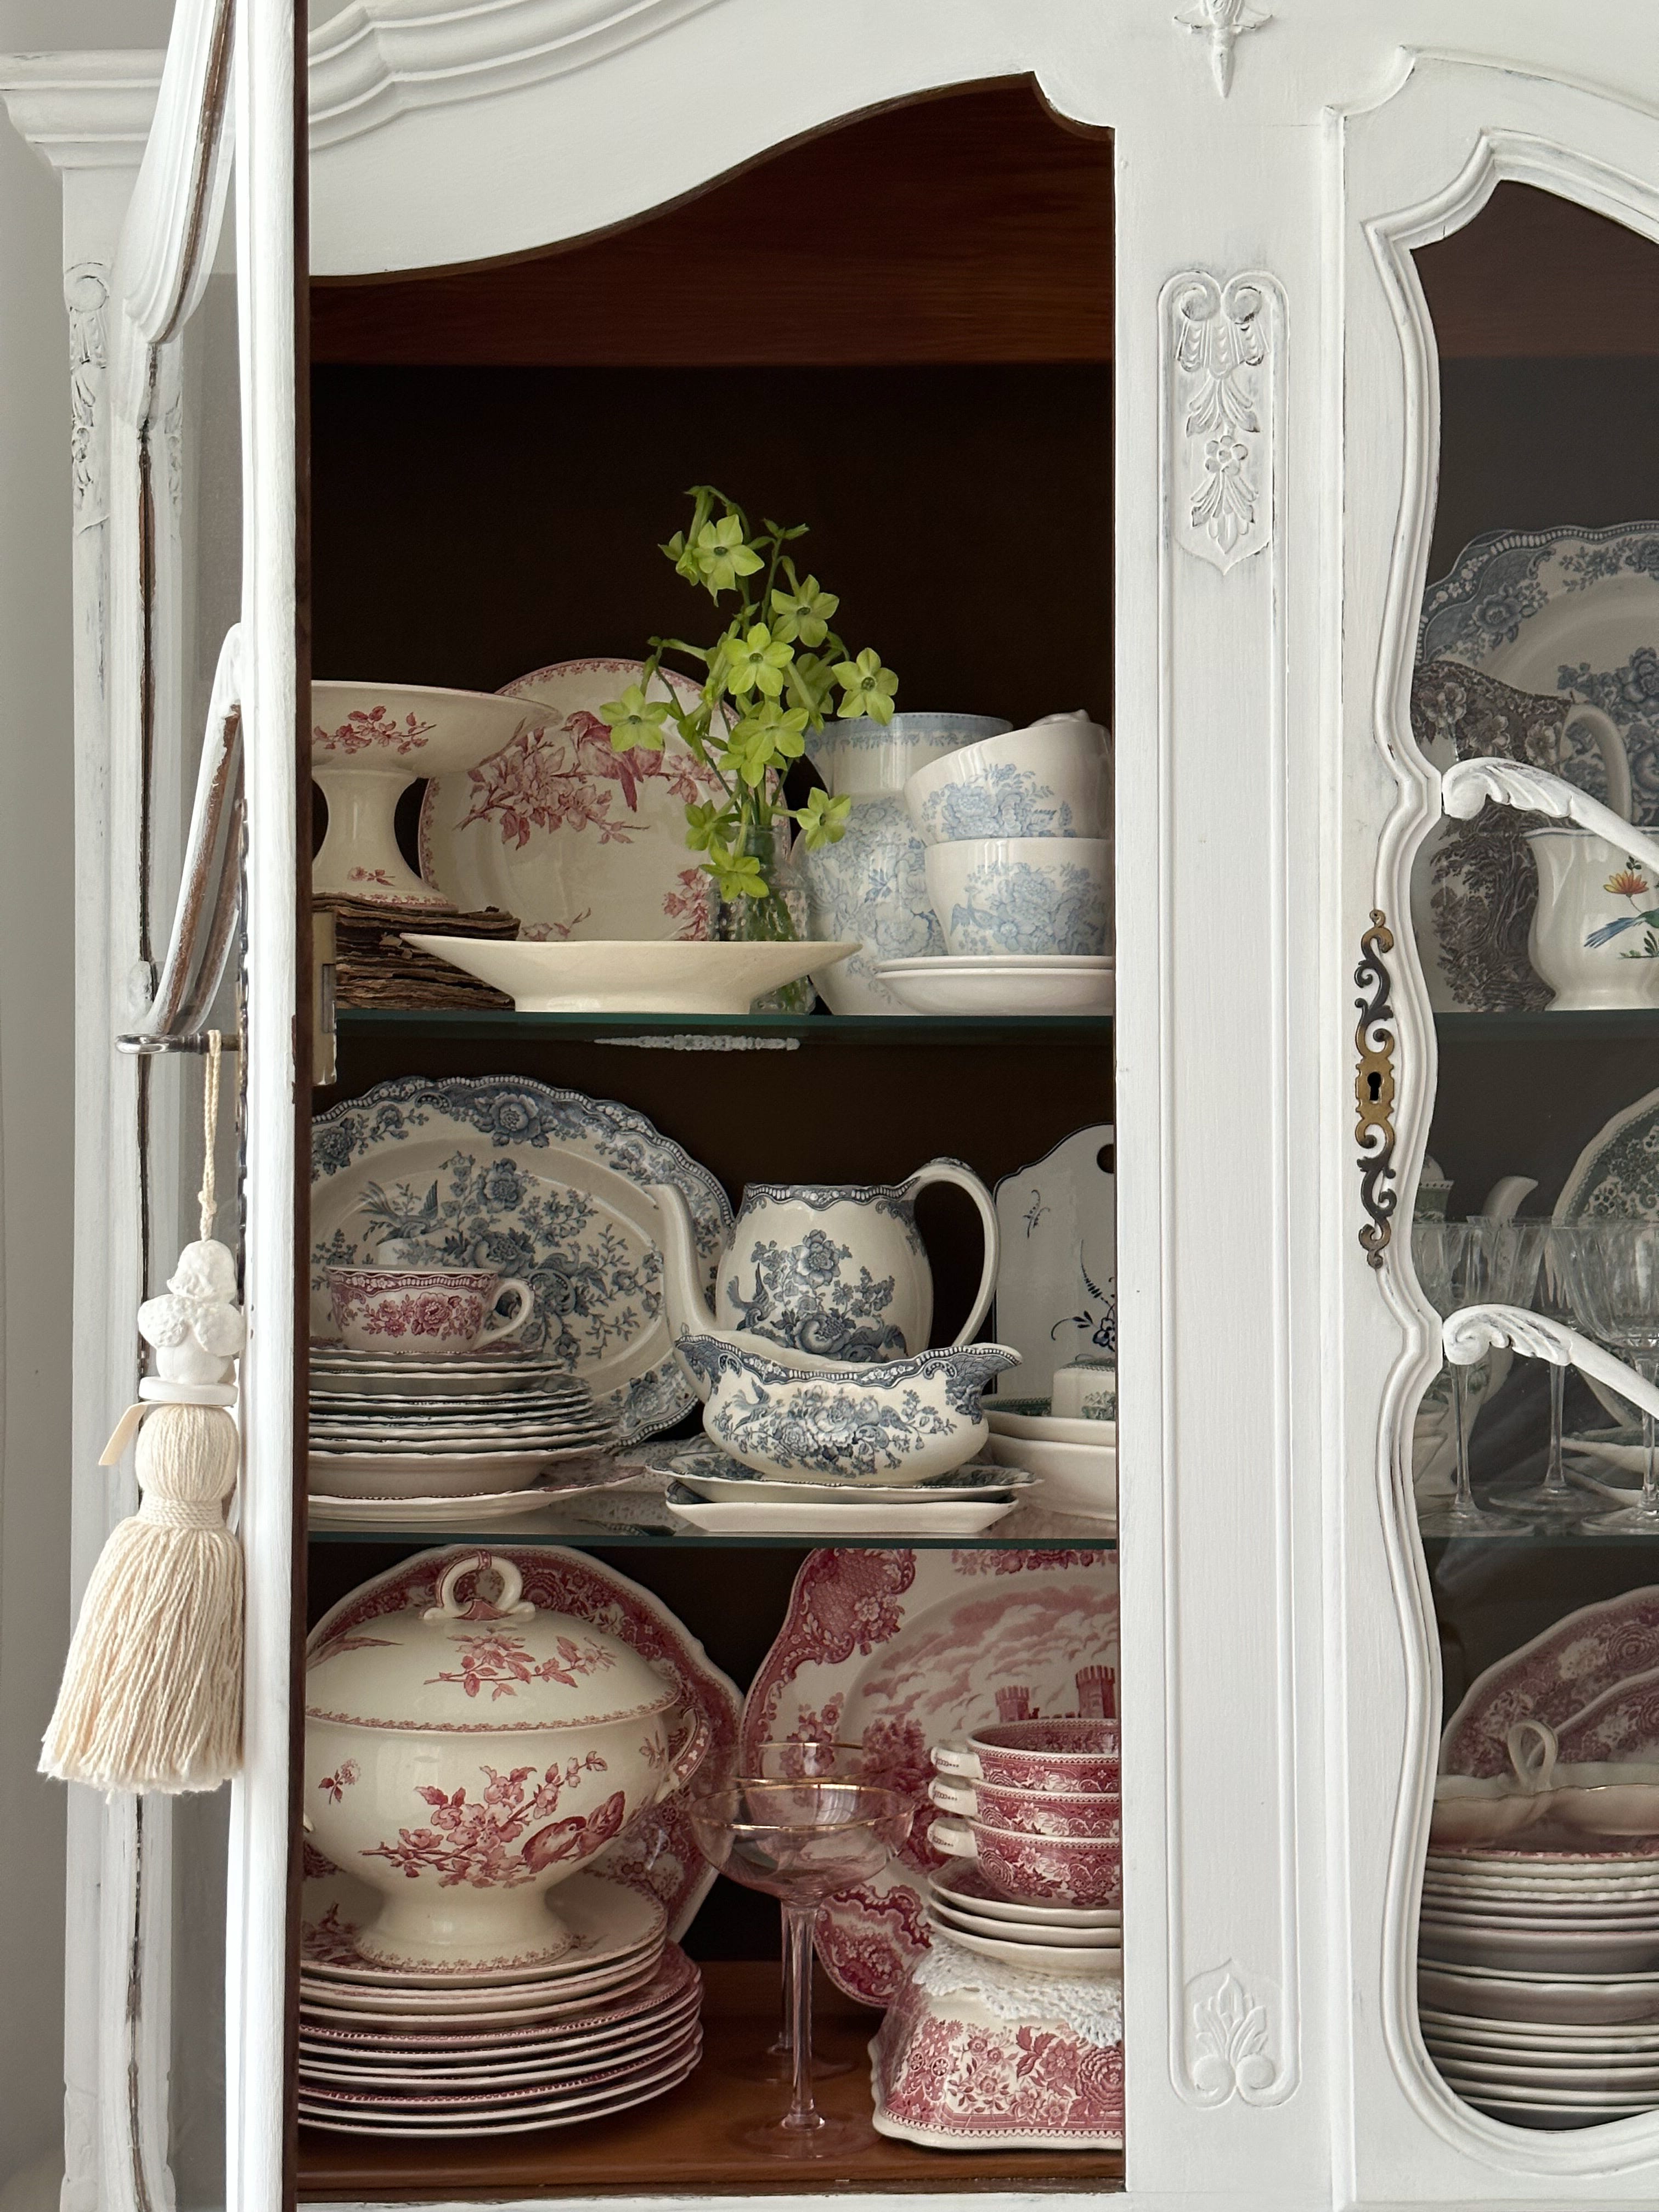
Store vintage tableware away from excessive humidity, direct sunlight and extreme temperature changes.
When stacking plates and serving dishes, place felt pads, linen napkins or soft cloths between them to prevent scratches. I personally use linen and cotton napkins all the time when storing plates in cabinets. They protect the glaze and make everything feel a little safer.
5 Ways to Remove Yellowing & Dark Stains
Lemon Juice & Salt Paste
One of the simplest methods. Mix lemon juice with salt to create a paste and gently rub stained areas with a soft cloth or sponge. The acidity helps break down stains while the salt provides mild abrasion.
Baking Soda Paste
Mix baking soda with a small amount of water to create a thick paste. Apply it to stained areas and leave for several hours or overnight before gently cleaning. This works particularly well for mild yellowing.
Oxygen Bleach
For more stubborn stains, oxygen bleach can be surprisingly effective. Dissolve it in warm water and soak the affected piece for several hours. Unlike chlorine bleach, oxygen bleach is generally gentler and very effective at lifting stains.
Hydrogen Peroxide
This is one I’ve used many times. Apply hydrogen peroxide directly to stained areas using a cotton pad or soft cloth. Allow it to sit for a while before gently scrubbing and rinsing thoroughly.
The “Last Resort” Method
For heavily stained pieces, I’ve occasionally used stronger cleaning products (like Domestos). Always wear gloves when doing this. Pour a small amount onto the plate, leave for 2–3 hours, then scrub the stained areas with a toothbrush or sponge and rinse thoroughly under running water. This method is not safe for every glaze, so monitor the reaction carefully and rinse the product off if necessary.
Remember: always test any cleaning method or solution on a small, inconspicuous area first to ensure compatibility and avoid damage. After cleaning, rinse the piece thoroughly with water and immediately dry it with a soft cloth to prevent water spots.
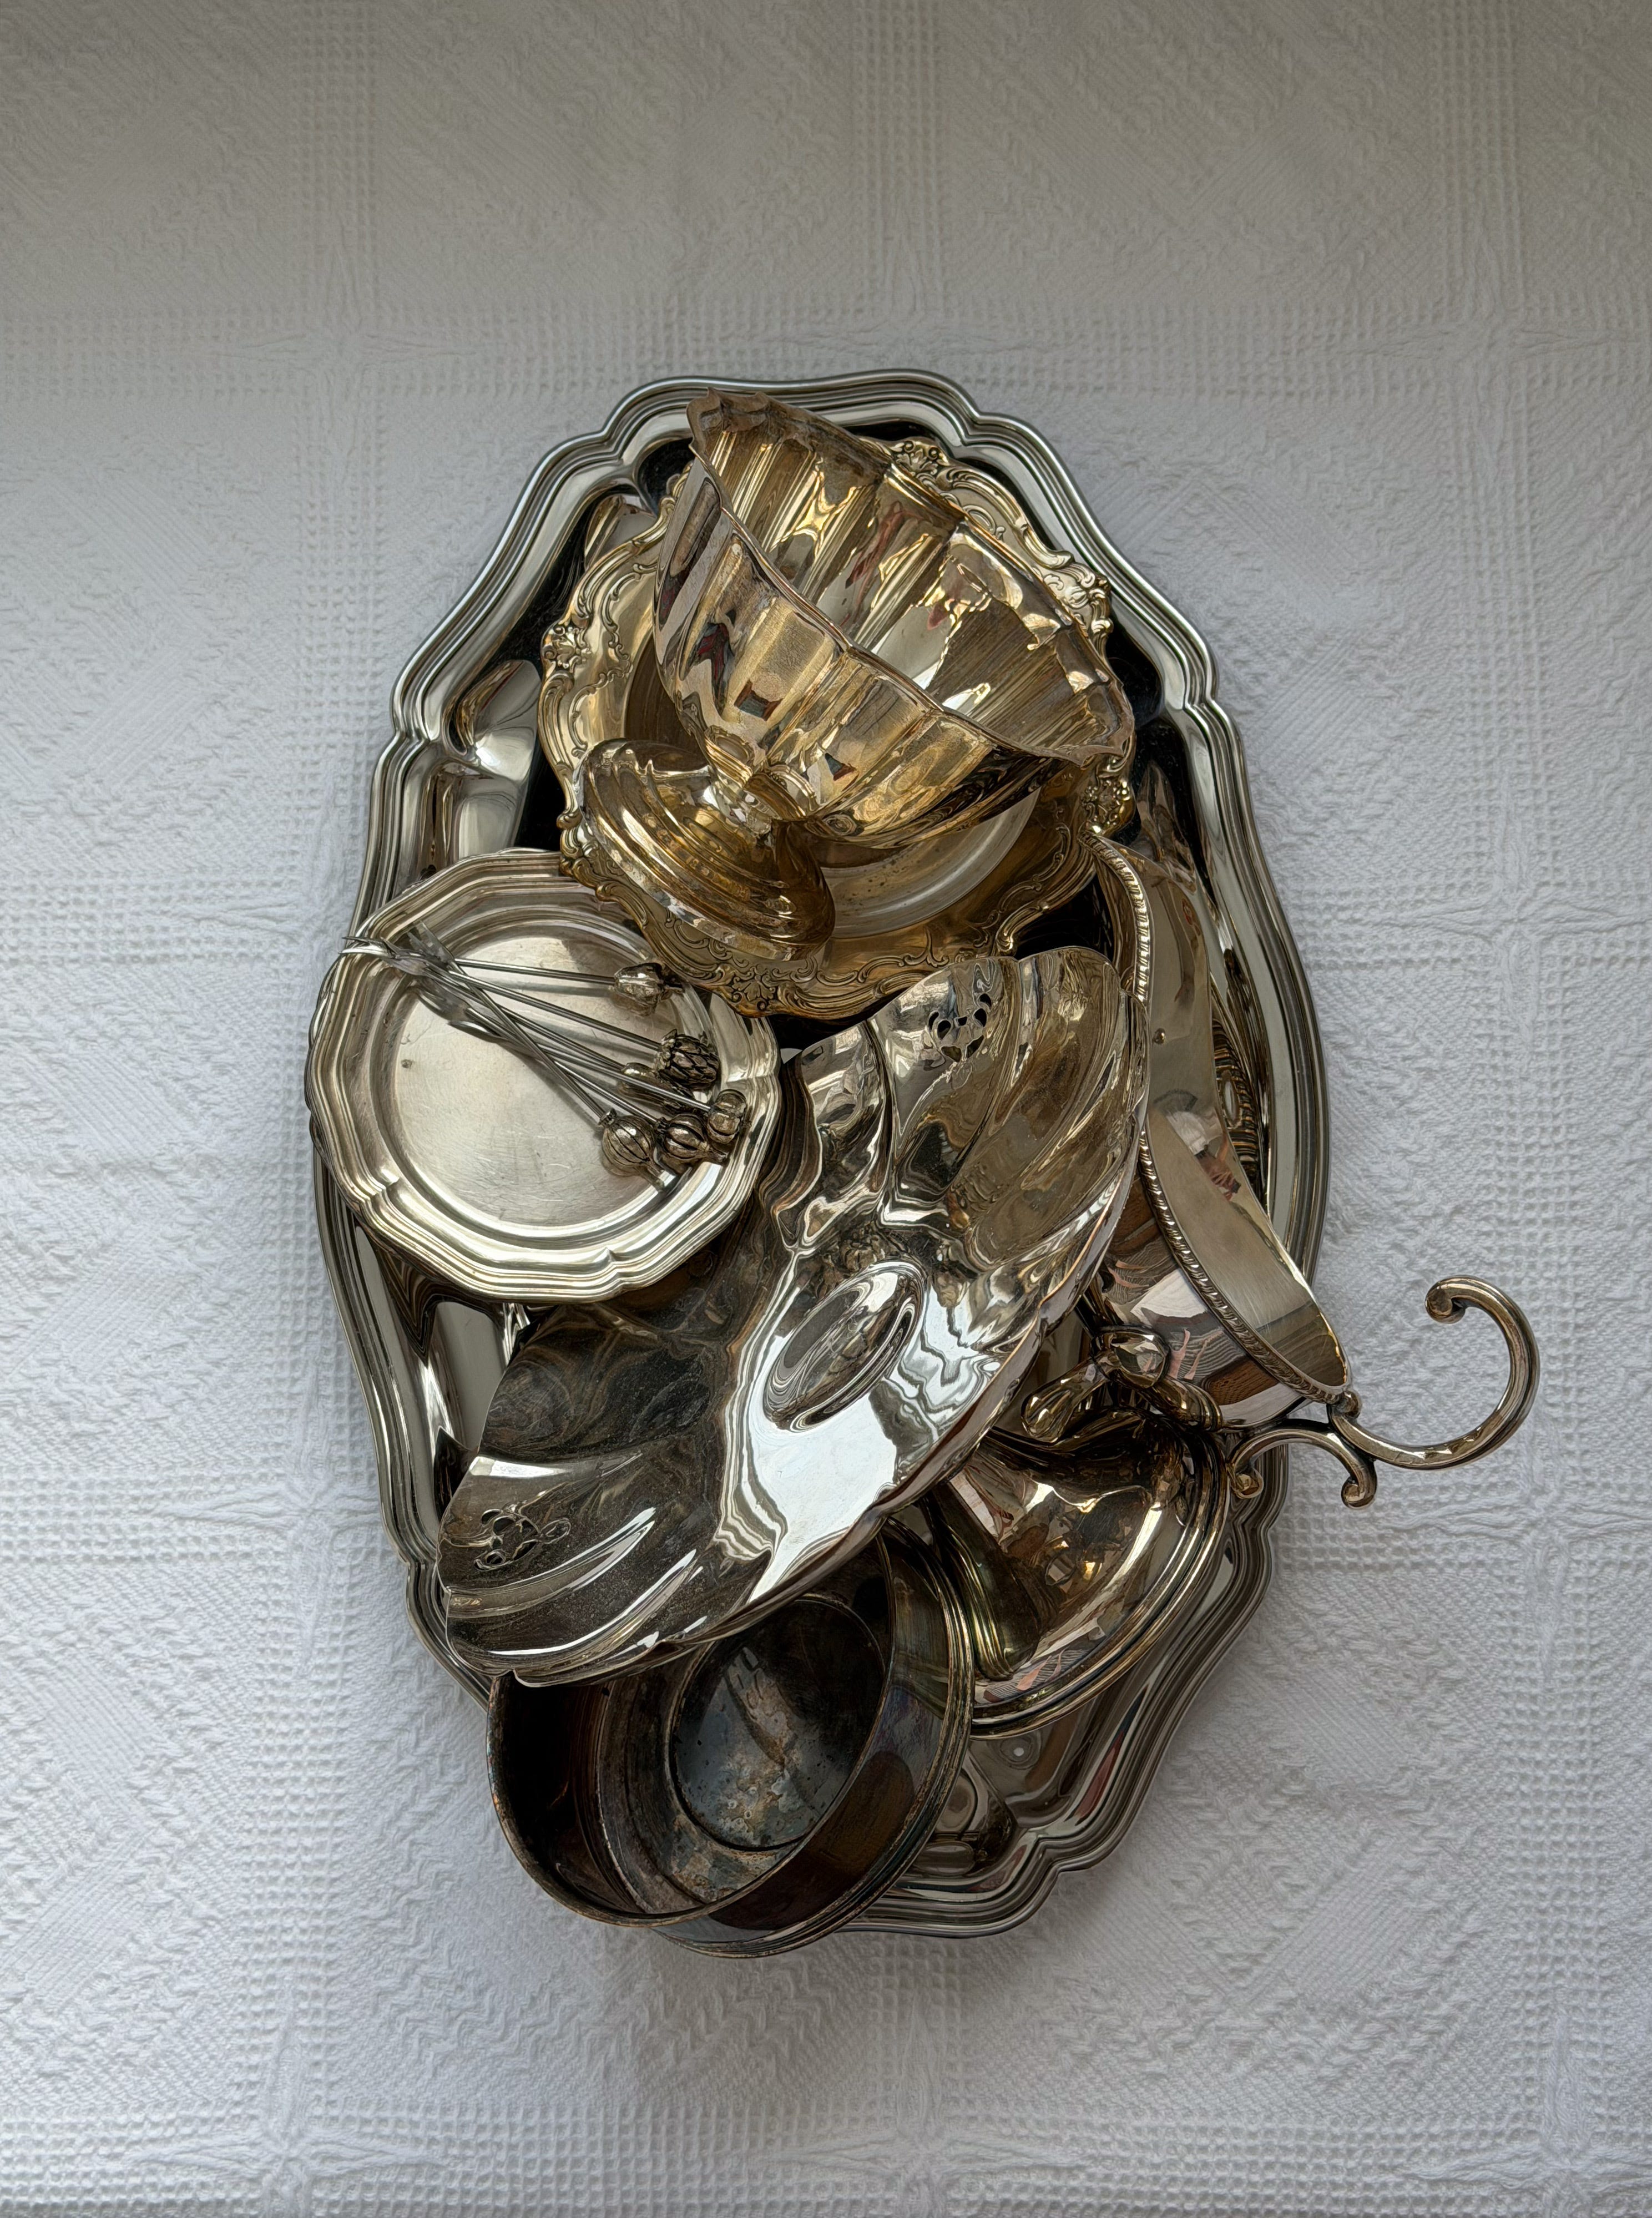
Cleaning Silver & Silver-Plated Pieces
Silver-plated pieces are probably the second thing I get asked about most. Over the years I’ve tried many different methods, but one stands above everything else.
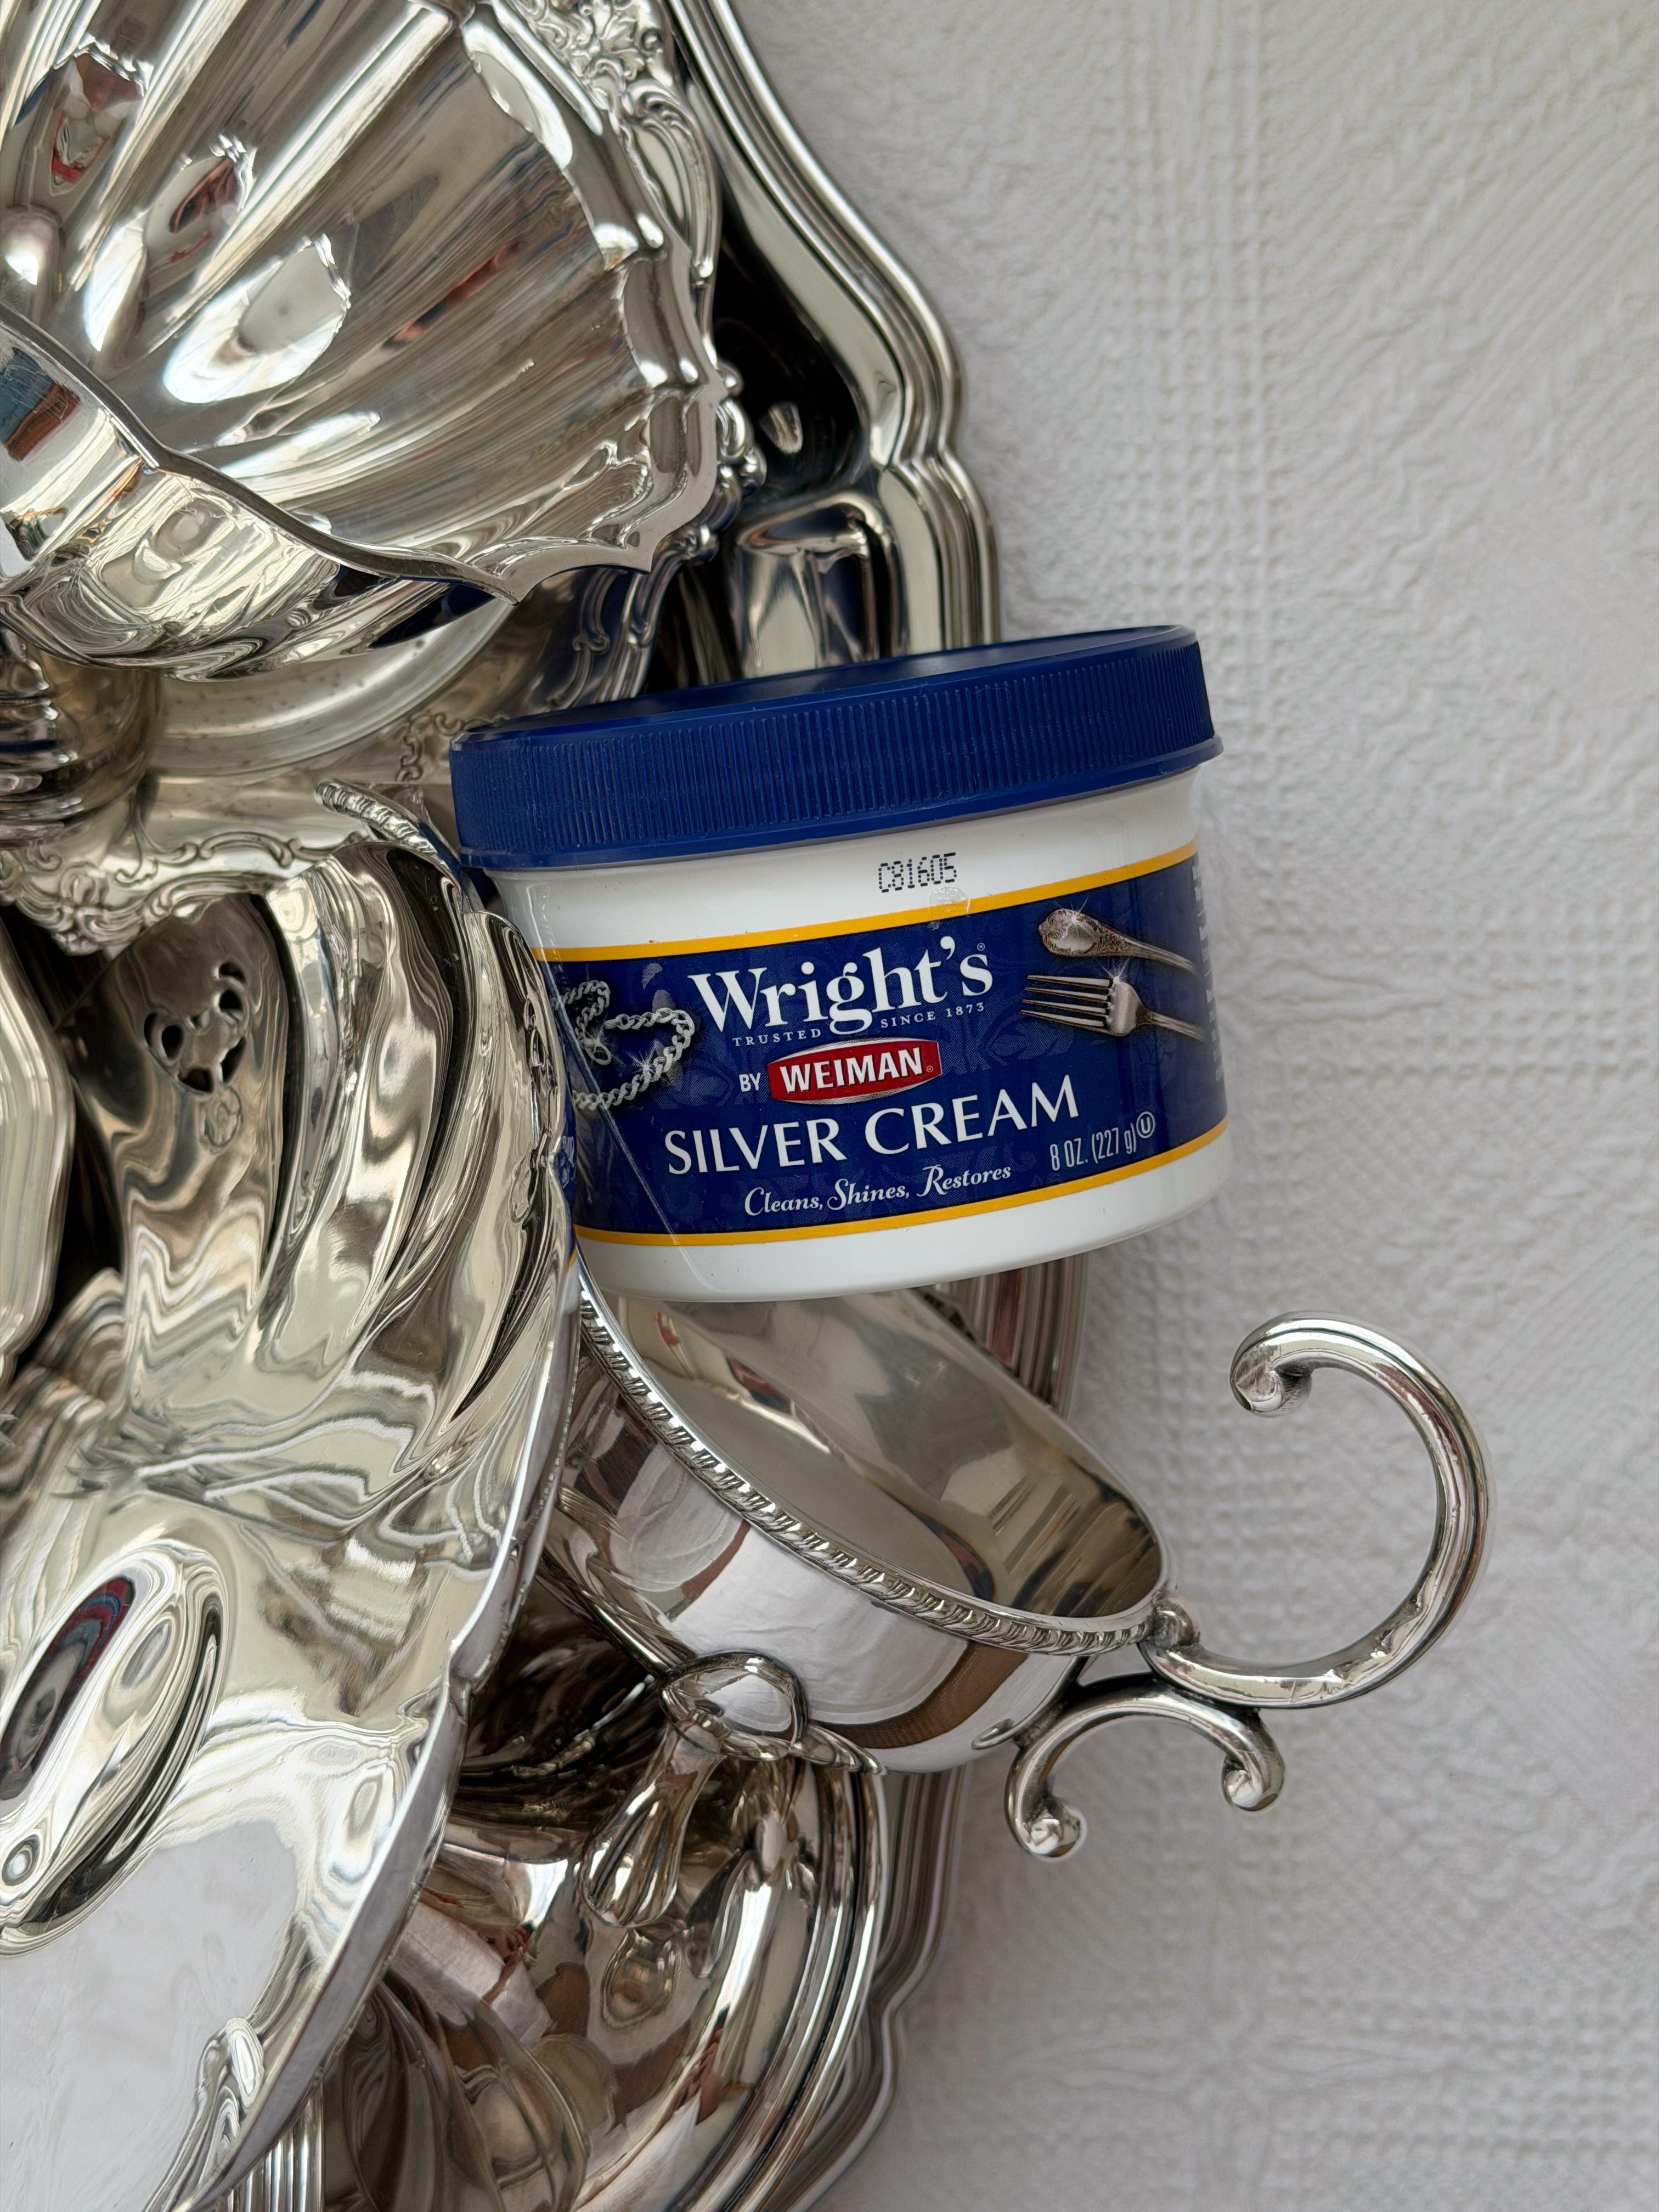
Silver polishing paste
If your silver or silver-plated piece isn’t heavily tarnished, a good polishing paste is by far the best option. Most of them come with a soft sponge included, so you don’t need any special tools or equipment.
Simply apply a small amount of paste to the sponge and work it over the surface, paying particular attention to detailed areas, edges and decorative elements. Don’t be afraid to apply a little pressure — the sponge is designed for polishing and won’t scratch the metal when used correctly.
If the piece is particularly dusty or has been sitting in storage for a long time, I usually give it a quick wash with warm water and a soft sponge first. This removes surface dirt and makes the polishing process much easier.
Once you’ve polished the entire piece, rinse away any residue and buff it dry with a soft cloth.
What I love most about this method is how quick it is. No soaking, no waiting and no complicated setup. Just a few minutes of polishing and the difference can be genuinely impressive.
It’s also the method I see recommended most often by other collectors, antiques dealers and silver enthusiasts, and after years of trying different products myself, it’s still the one I come back to again and again. I’ll link my favourite polishing paste here.
Toothpaste method
One method I personally use is cleaning with toothpaste. Simply apply toothpaste to dry gauze or a soft cloth and polish the cutlery or silver-plated item. This method is especially useful when you need to quickly clean a few small pieces.
Aluminium foil method
Another popular method is cleaning with aluminium foil.
Line a deep bowl or saucepan with pieces of foil, add 1 teaspoon of baking soda and a small amount of salt, then pour over boiling water.Place the silver item into the bowl, making sure the silver does not directly touch the foil. This method helps remove tarnish and clean silver items effectively.
Sometimes the best results come from combining both methods: starting with the foil treatment and then finishing with polishing paste afterwards.
That’s usually when silver-plated pieces really start sparkling again.
Final Thoughts
One thing collecting vintage has taught me is that not every mark needs to be removed. Some stains should absolutely be cleaned. Some tarnish can be polished away. But some signs of age are simply part of the story.
And honestly, that’s part of what makes vintage so special. These pieces have already lived entire lives before they reached us. Looking after them is just our turn.
I hope some of these tips will be helpful, whether you’re just starting your collection or you’ve been hunting for vintage treasures for years. And if you have any questions, feel free to leave a comment below.
See ya,
xx